A rustic loaf that filled with pockets melted cheddar cheese. An all-in-one guide about how to make a perfect homemade artisan cheese bread.
Jump to:
- What is artisan bread?
- Baking schedule for this homemade artisan cheese bread
- Essential ingredients
- What is sponge in bread making?
- How to make sponge starter
- Steps in making homemade artisan cheese bread
- Serving and storing bread suggestions
- Other bread inspired recipes
- Homemade artisan cheese bread - Yeasted bread recipe
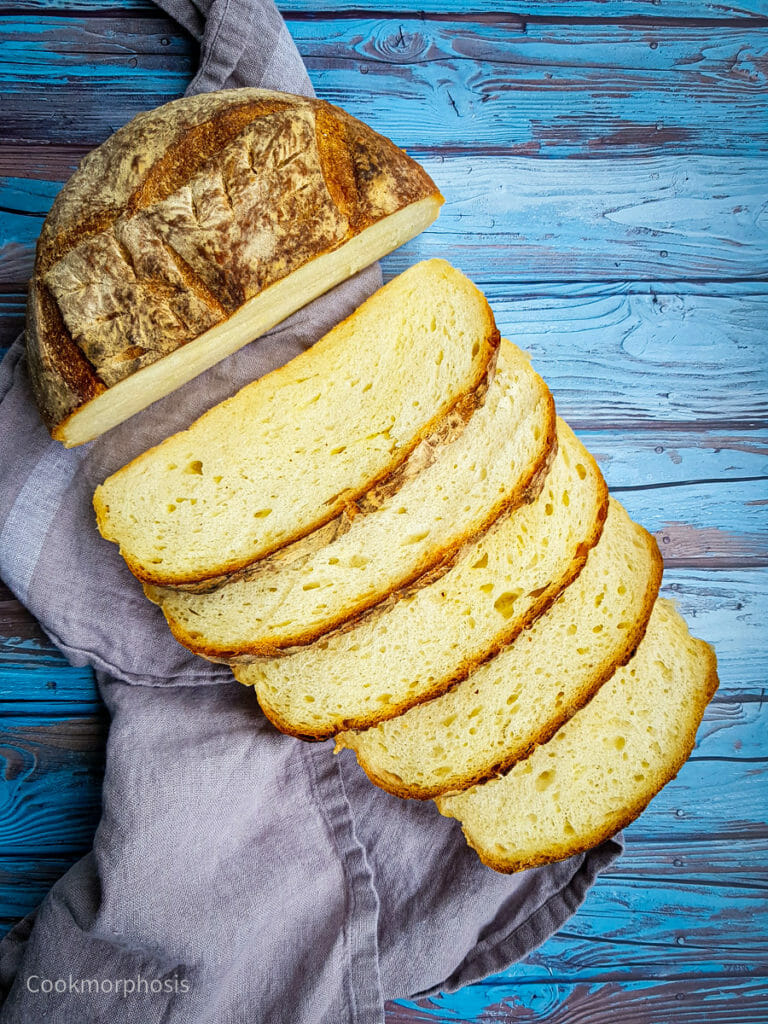
I remember my first loaf of bread was a big fail back in 2011. It was a baguette and my, oh my, it was horrible.
It was dense, rough, and surely did not taste like baguette at all. Jeez, I was so embarrassed. From that moment, I had always thought bread is something probably I could never accomplish.
Fast forward to 11 years later, I am so proud of myself for being able to accomplish any bread related recipes, including artisan bread.
That said, this homemade artisan cheese bread guide is not only for a frequent baker (who wants to dig deep about artisan knowledge) but also for first time bread baker.
So brace yourself for impact. Because this is gonna be a long post loaded with a lot of useful bread-baking tips, tricks, and guidelines.
What is artisan bread?
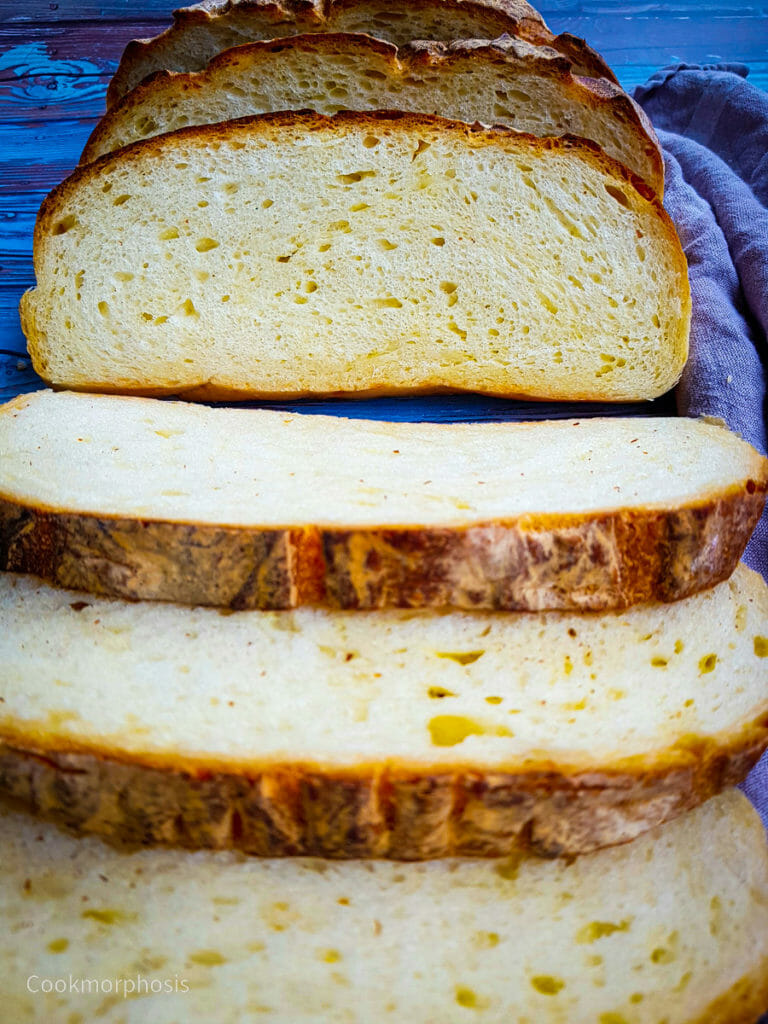
Artisan bread is generally made by hands using a traditional, long bread making process. It has a rustic crust with variety of scoring designs and hydrated crumbs.
Mass-produced artisan breads in grocery stores are usually made by using large machines. They are more appealing on the outside compared to hand-made/homemade.
However, mass-produced breads are lack of care and added too much additives. While original artisan breads are made by most basic ingredients: flour, water, salt and yeast.
Baking schedule for this homemade artisan cheese bread
This cheddar cheese bread is made over the course of one and a half days. I like making the sponge-base the night before and finish the entire process the next day.
So here is the timeline I suggest for making this bread:
A day before:
- 11 pm - making sponge
Baking day:
- 9 am - start mixing process
- 9:30 am - hand kneading & proofing process
- 1 pm - shaping & proofing again
- 2:30 pm - scoring & baking
- 3:15 pm - start cooling process
- 5:30 pm - ready to serve
Essential ingredients
As mentioned above, only basic ingredients are needed for this cheddar cheese bread
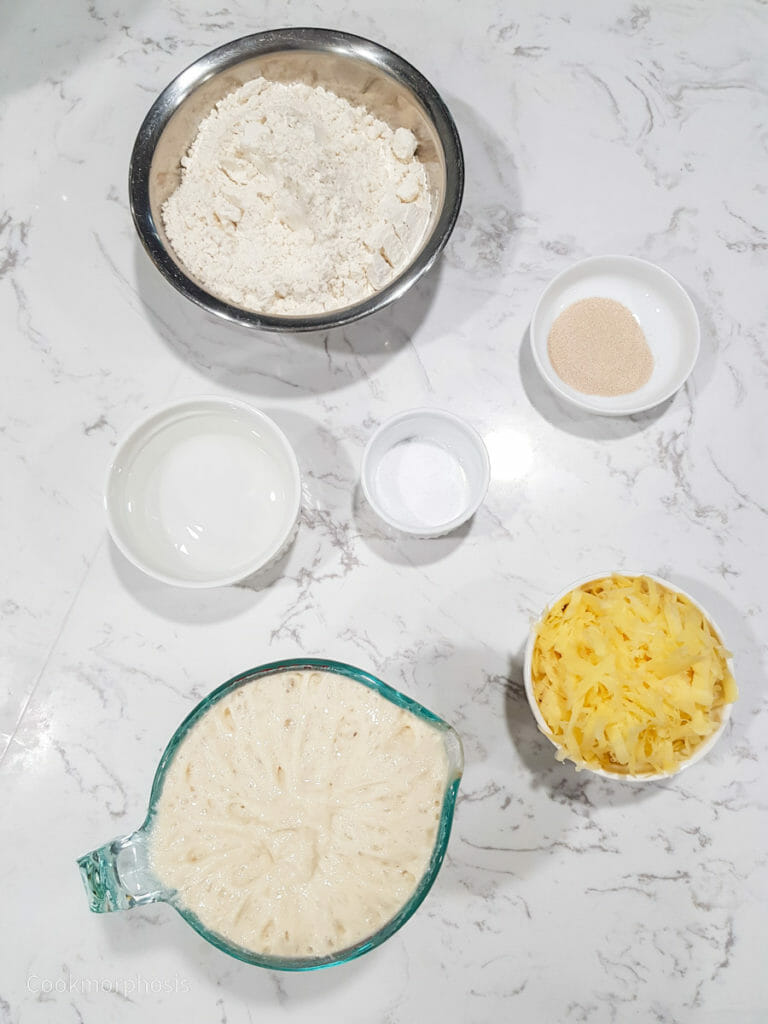
- Bread flour - the best bread comes from the best flour. Either Bob's Red Mill or King's Arthur unbleached bread flour is good.
- Instant rise yeast - SAF red instant rise yeast is what I always use in all of my yeasted bread recipes. You can read more about the difference between SAF red yeast and SAF gold yeast, as well as how to store yeast here.
- Water - make sure water is at room temperature for better result bread.
- Salt - as always, Kosher salt is my favorite and first pick when it comes to both baking and cooking.
- Cheddar cheese - always shred cheese yourself and never go for the pre-shredded one. In order to achieve the best flavor for this homemade artisan cheese bread, look for cheddar cheese that aged for about one or at most two years. Don't use cheese that has aged for longer or pre-shredded because it won't melt easily.
- Sponge starter - see below for more information
What is sponge in bread making?
The recipe calls for sponge making ahead of time. So what is sponge exactly?
Sponge is a type a bread-starter, just like sourdough starter. It helps adding flavor and texture to your artisan bread.
A sponge is a bubbled mixture of flour, water and yeast. It creates "a crust and flavor like sourdough, with less of the taste that some sourdough haters can do without, due to shortened pre-fermentation".
You should make a sponge starter at least 8 hours ahead of baking time (maximum 24 hours).
How to make sponge starter
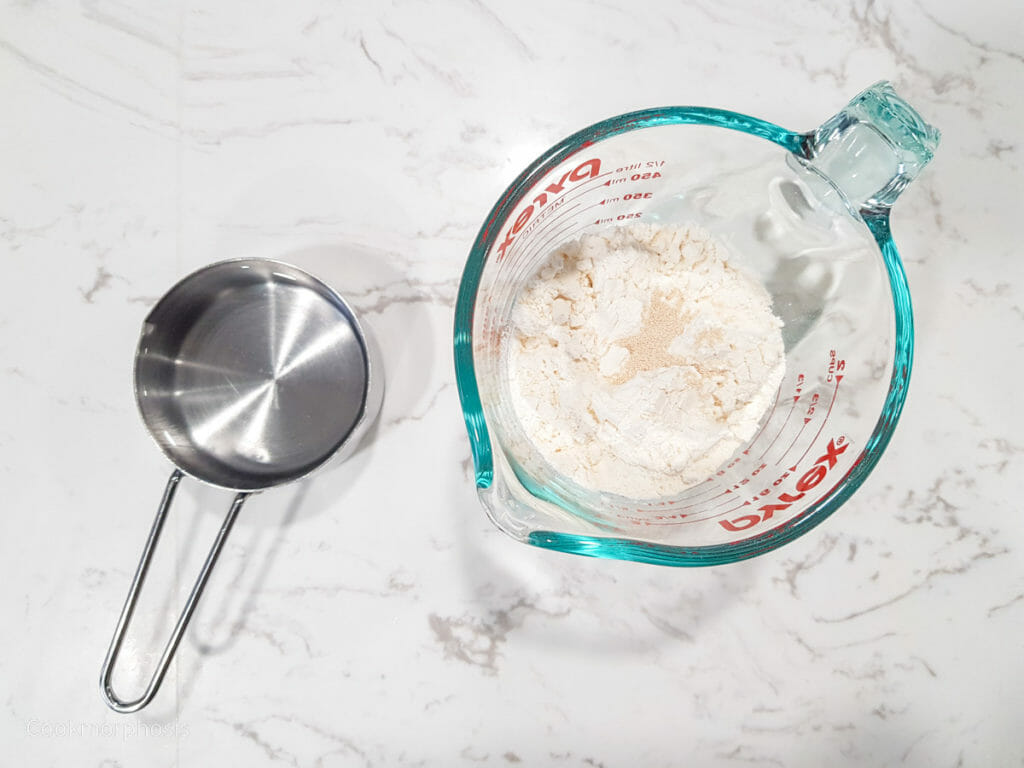
For this recipe, use a measuring 4 cup glass or a large mixing bowl so the sponge has room to rise.
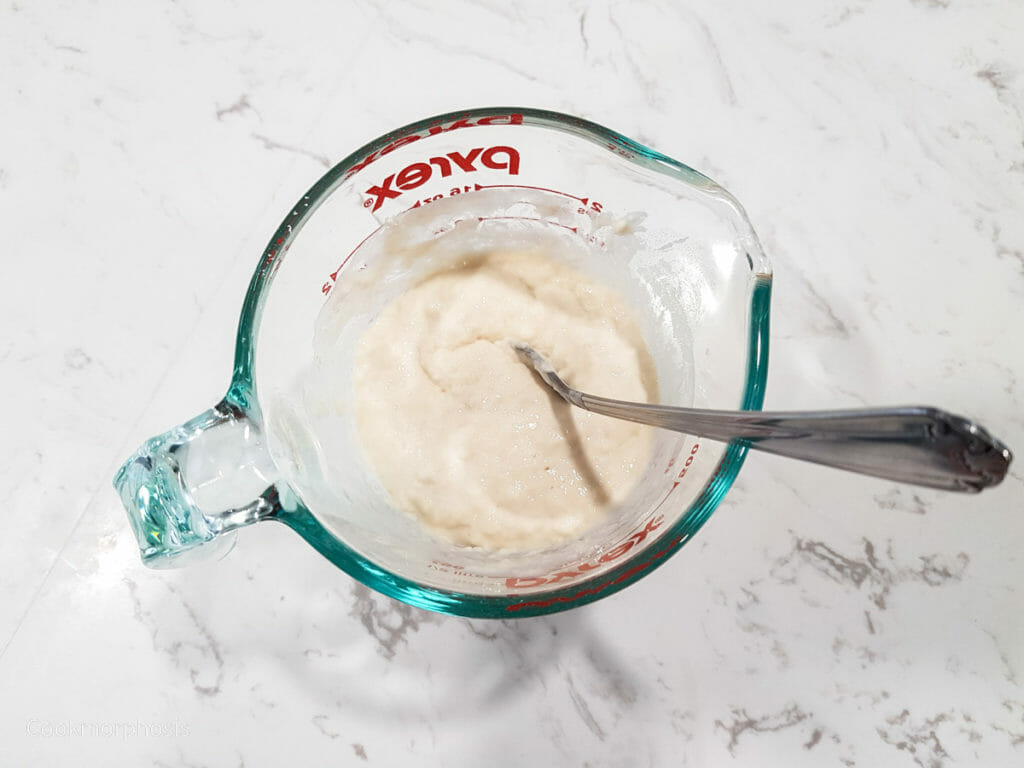
Stir together bread flour, water (room temperature) and yeast with a spoon/fork until everything is combined. Cover tightly with plastic wrap.
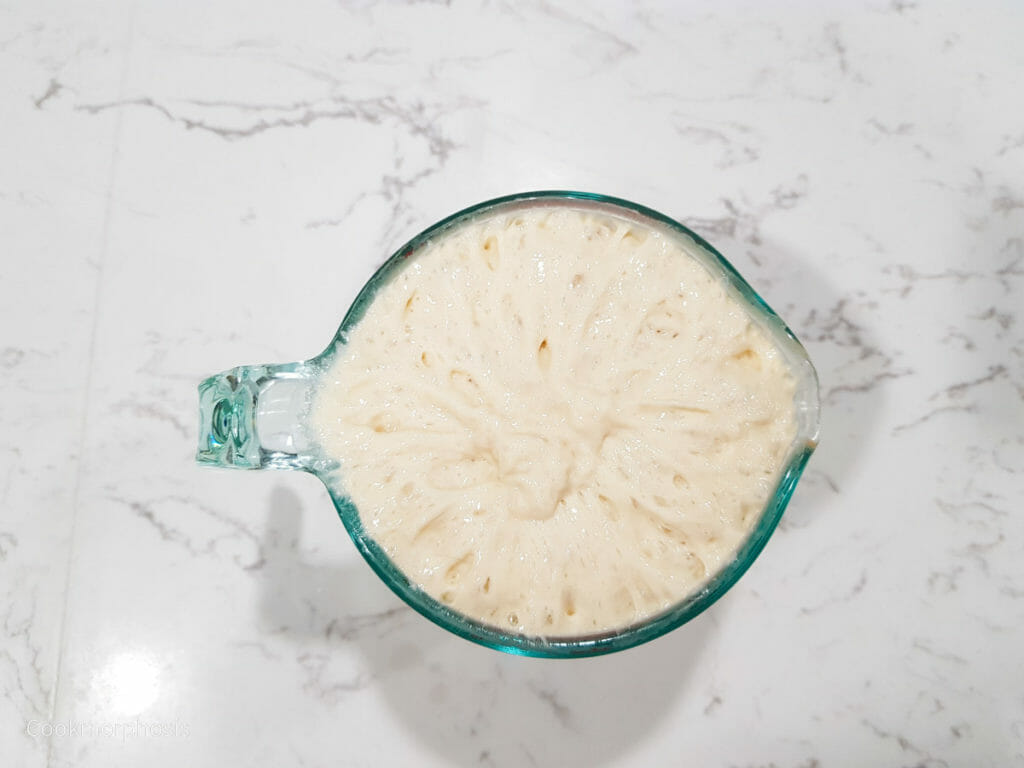
Let the sponge sit at room temperature until it has risen and begins to collapse before incorporate into flour mixture. Approximately 8 hours.
Steps in making homemade artisan cheese bread
Mixing the dough
- In a mixing bowl of a stand mixer, combine flour, yeast, and sponge. Use a dough hook on medium-low speed to mix everything together until the dough starts to form and no dry ingredient remains in the bottom of the bowl. Use a spatula to scrape down the sides of the bowl if necessary. There will be some wet flour stick to the sides, it is fine. Approximately 2 minutes.
- Cover the mixing bowl with plastic wrap or kitchen towel and let the dough rest for 15-20 minutes, the dough should expand after resting.
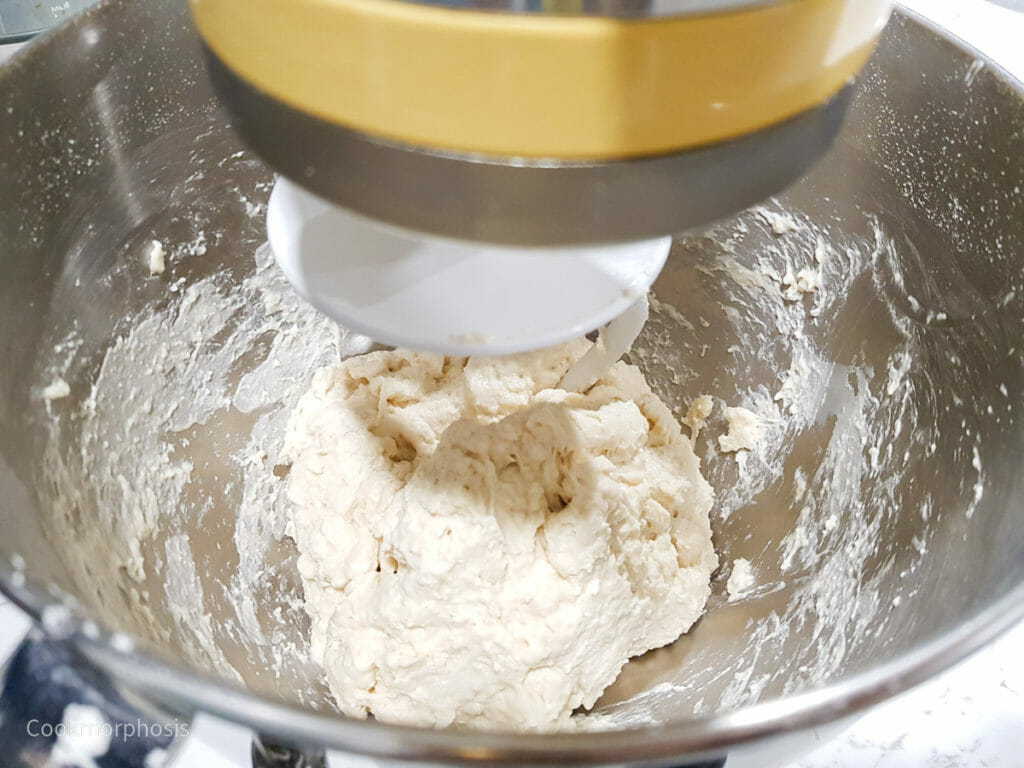
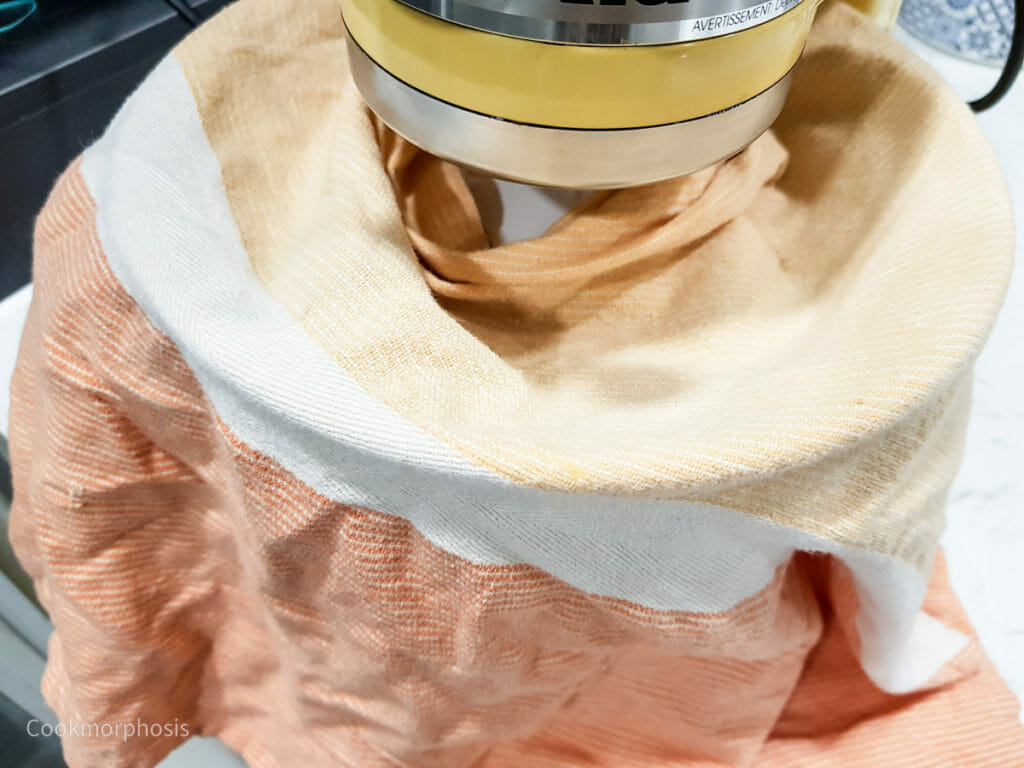
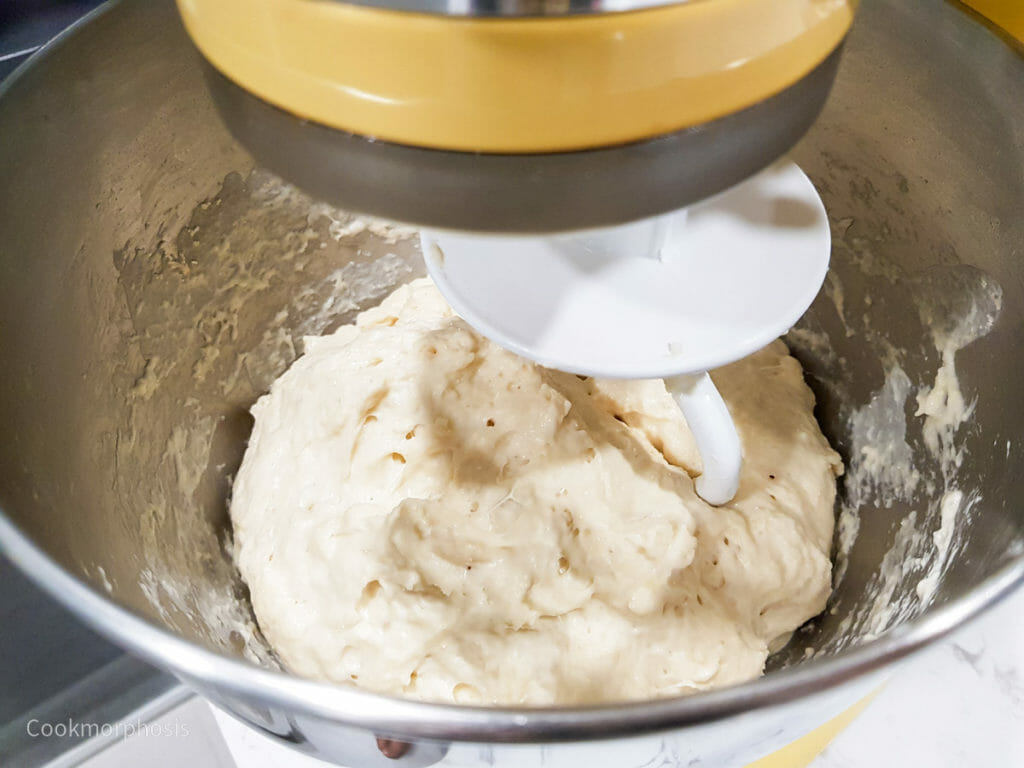
- Add salt to the dough and continue kneading on medium-low speed until the dough is smooth and pulls away from the side. Approximately 3 minutes.
- Add half the amount of cheese and continue kneading for 3 more minutes.
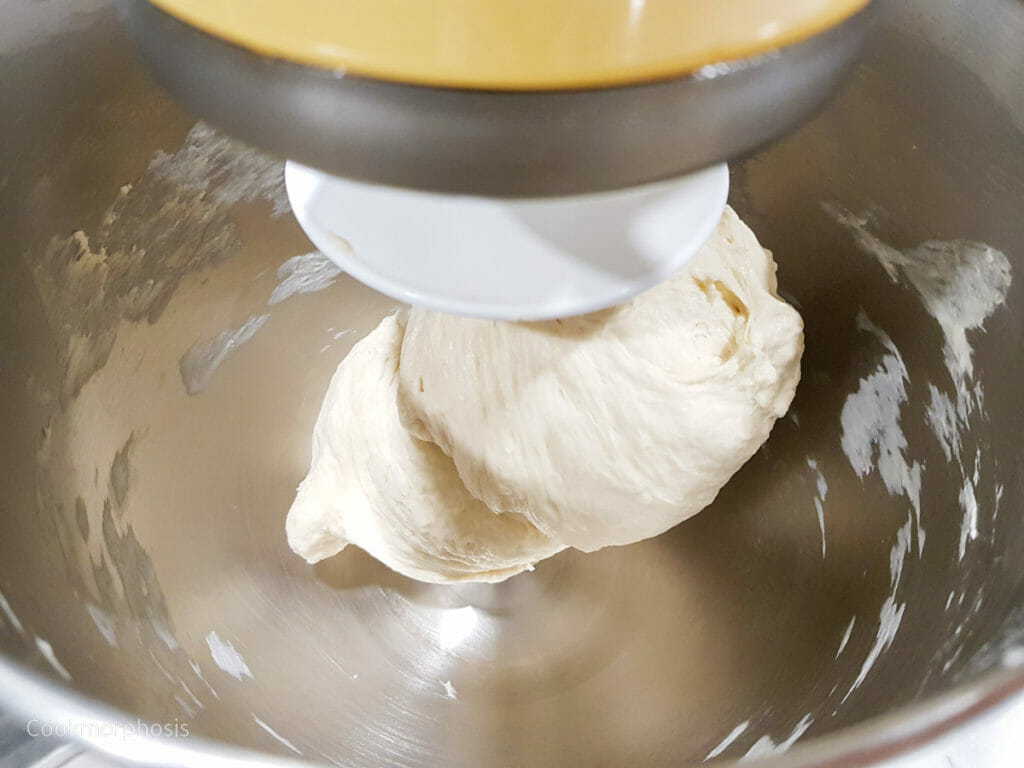
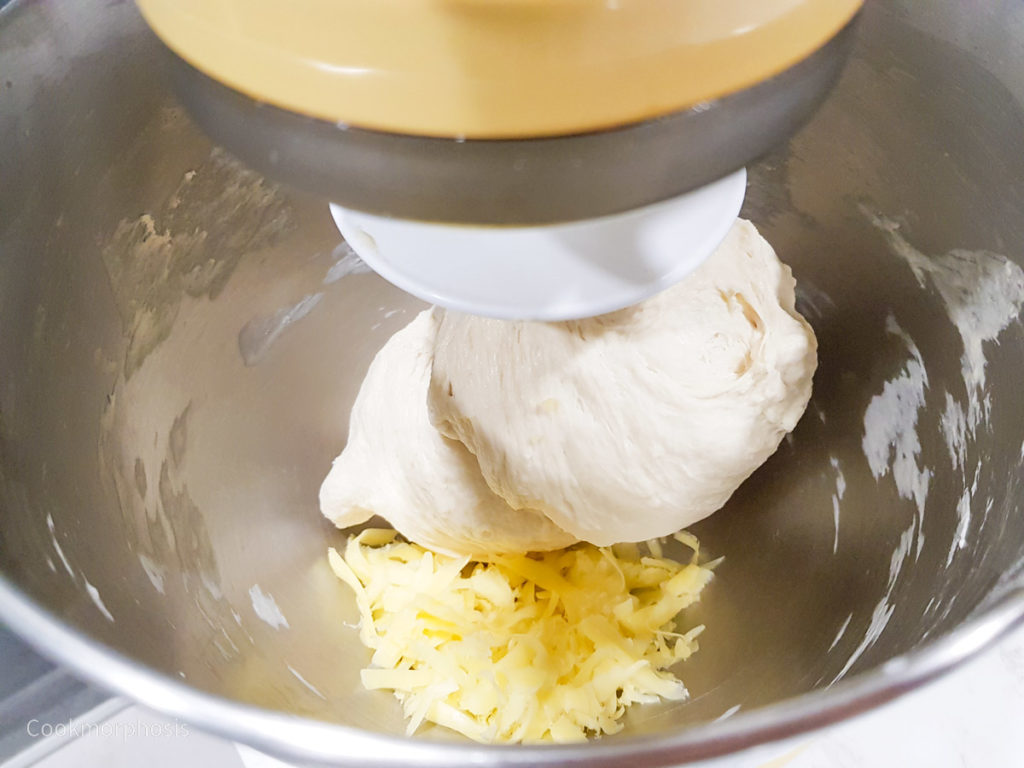
- Transfer the dough to a lightly grease large mixing bowl, cover it tightly with plastic wrap and let it rest for 30 minutes.
- The dough will expand almost by half after this resting period.
Hand kneading and proofing process
- Grease your hand lightly with flour and start kneading the dough.
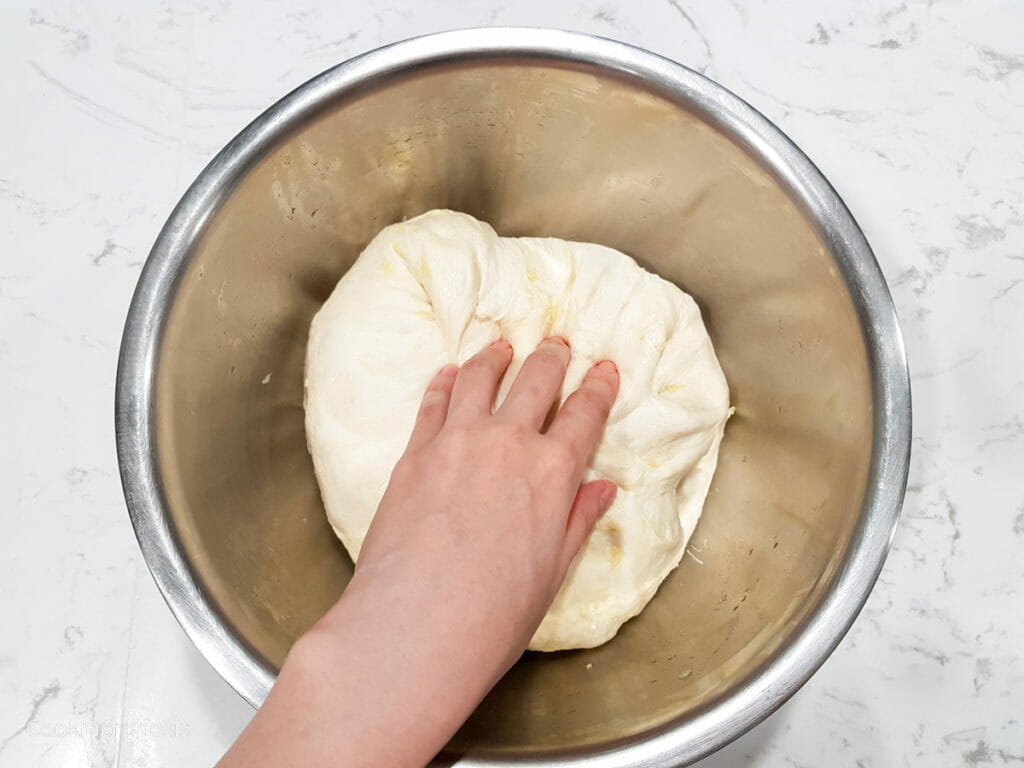
- First fold: pick up the edge of the dough that is furthest from you and fold toward the middle. Turn the bowl about 45 degree and repeat the folding. Continue doing so for two complete rounds. Put the dough seam side down. Cover the mixing bowl tightly with plastic wrap and let it rest for 30 minutes.
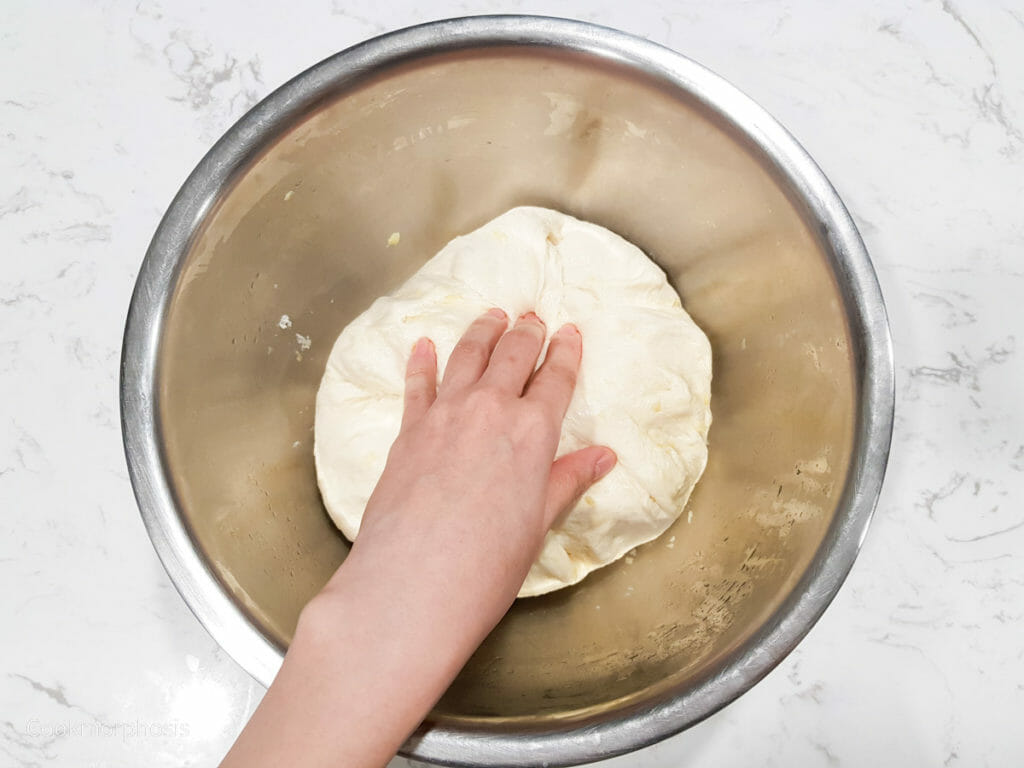
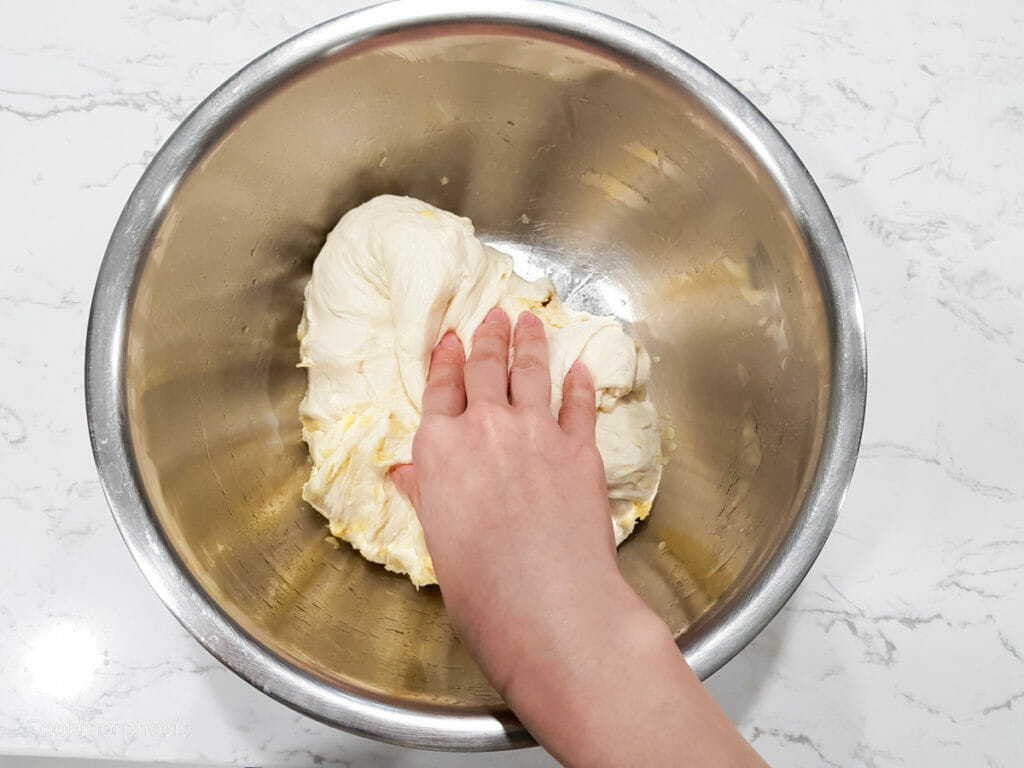
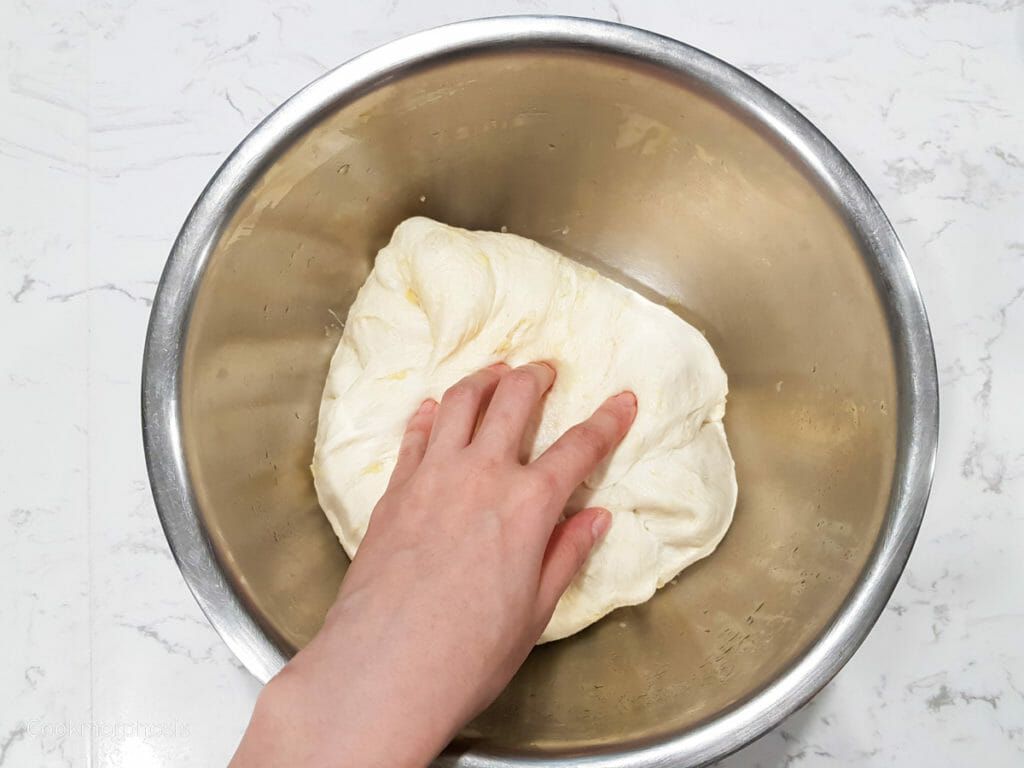
- Second fold: repeat the above process and let the dough rest for another extra 30 minutes. You'll notice the dough is expanding and easier to handle compared to the first fold.
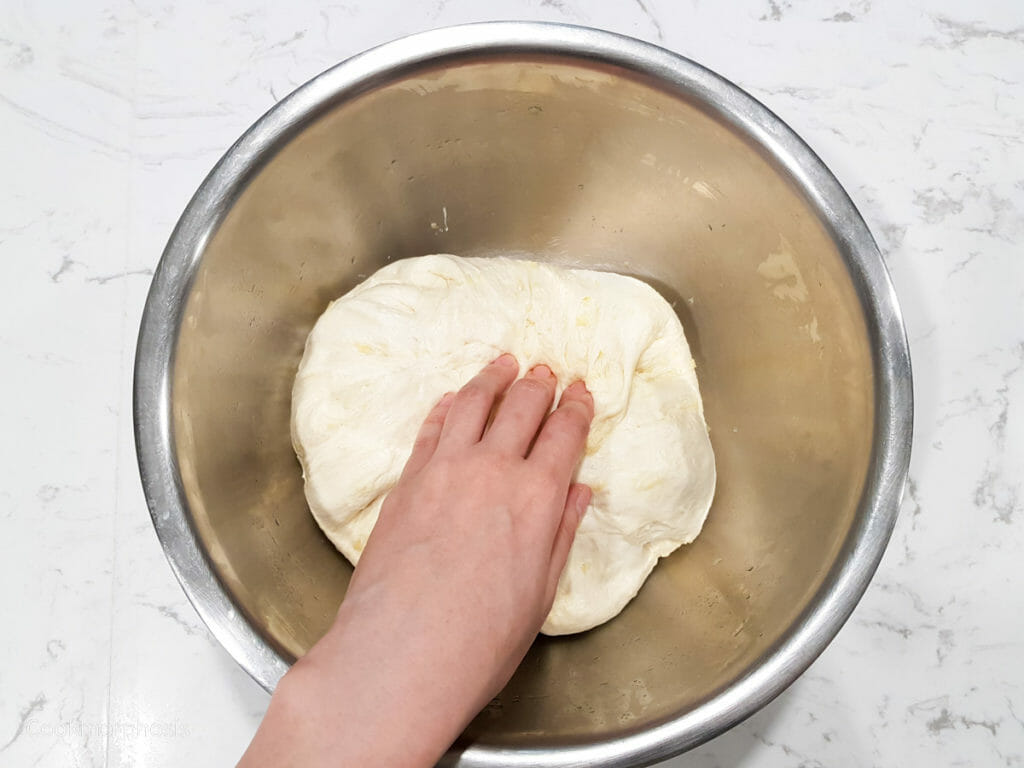
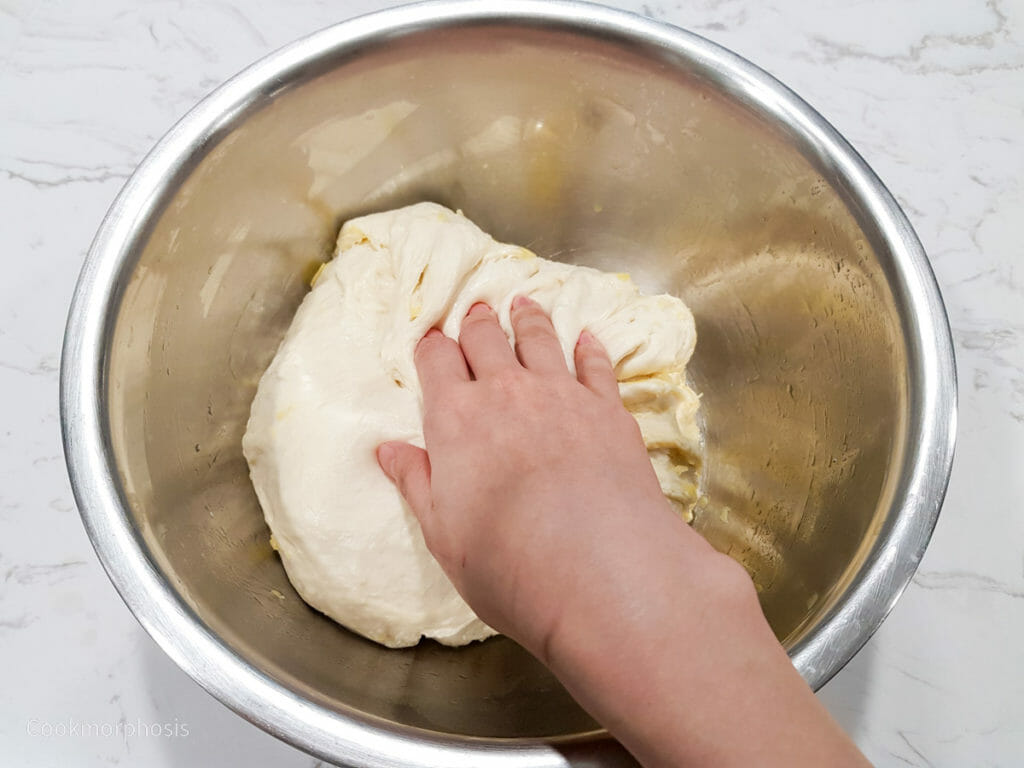
- Third fold: repeat the process one more time. By this time, the dough is more elastic and very easy to handle. You might want to do three complete rounds instead of two because of the size of the dough now. Again, let the dough rest for another 30 minutes.
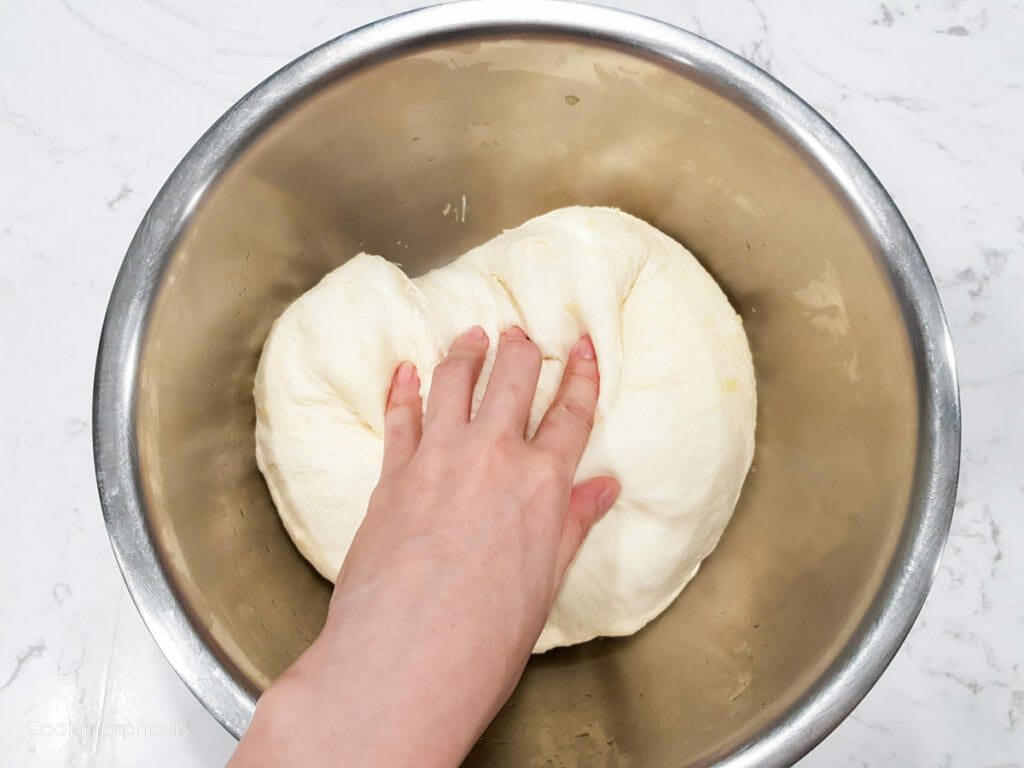
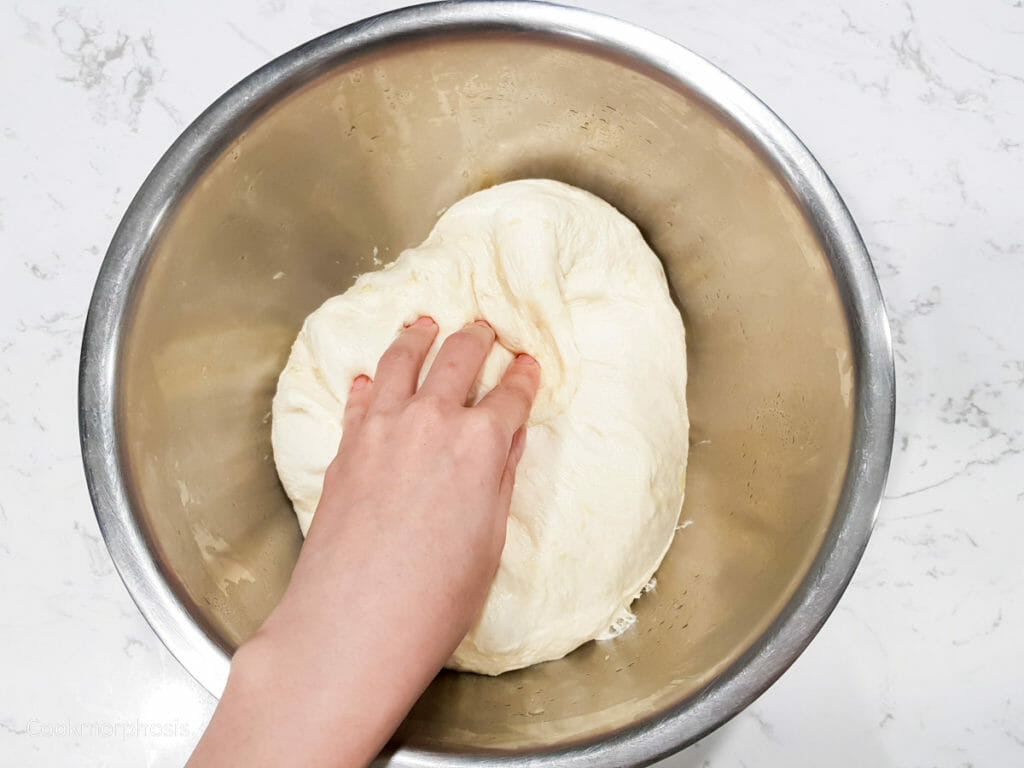
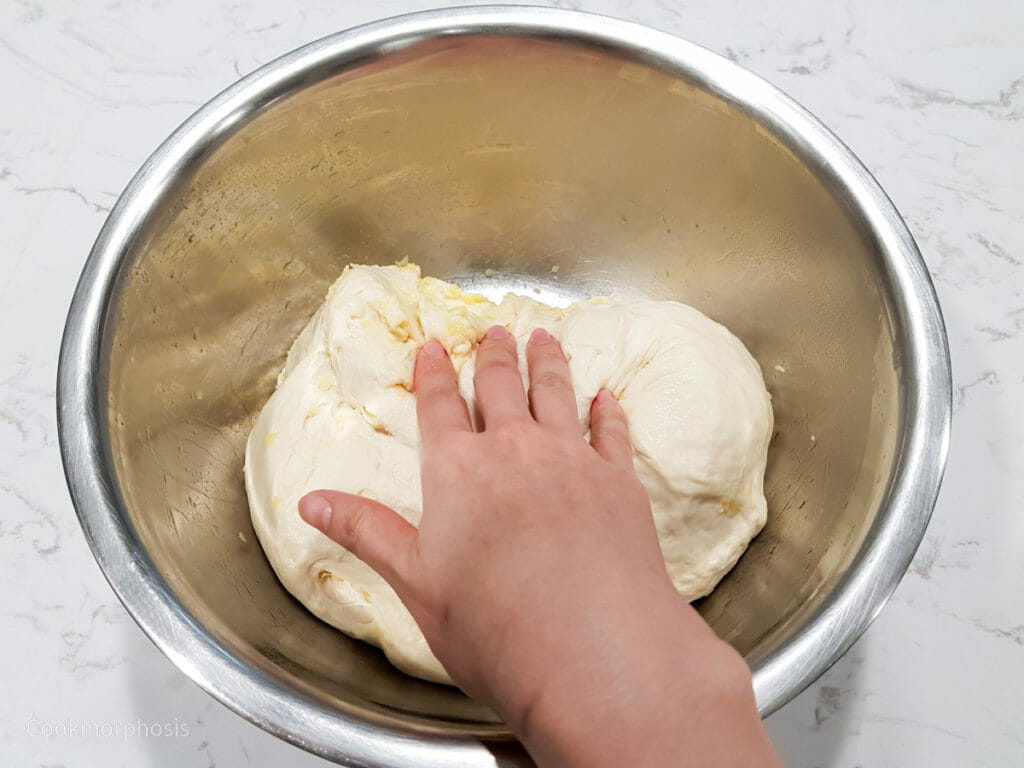
- Fourth fold: the last fold of this proofing/resting process. The dough is expanding to its desired size by this time. You'll feel how light and elastic it is when doing the folding the process. After the fourth fold, let the dough rest for 1 to 1.5 hours or double in size.
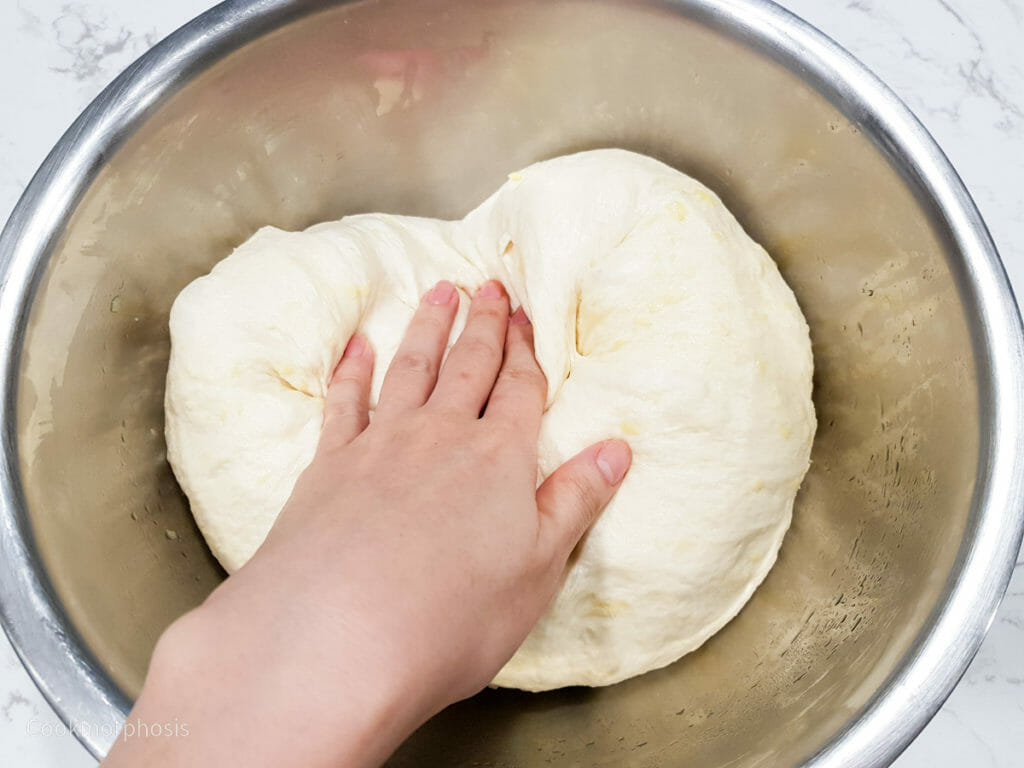
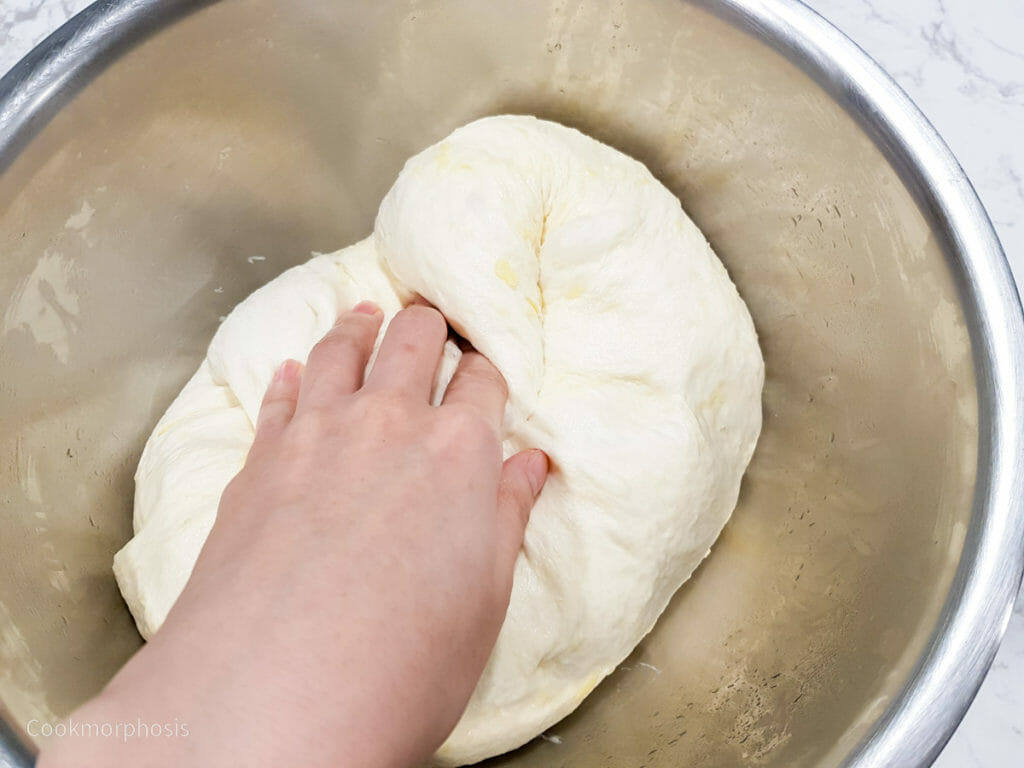
Shaping process
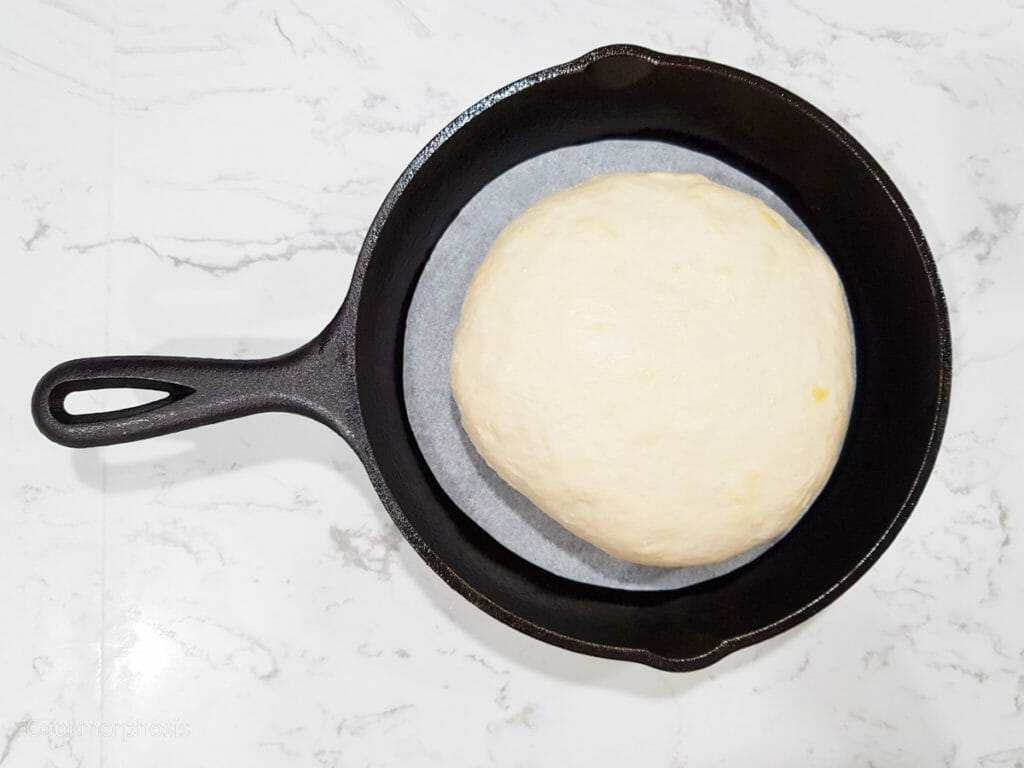
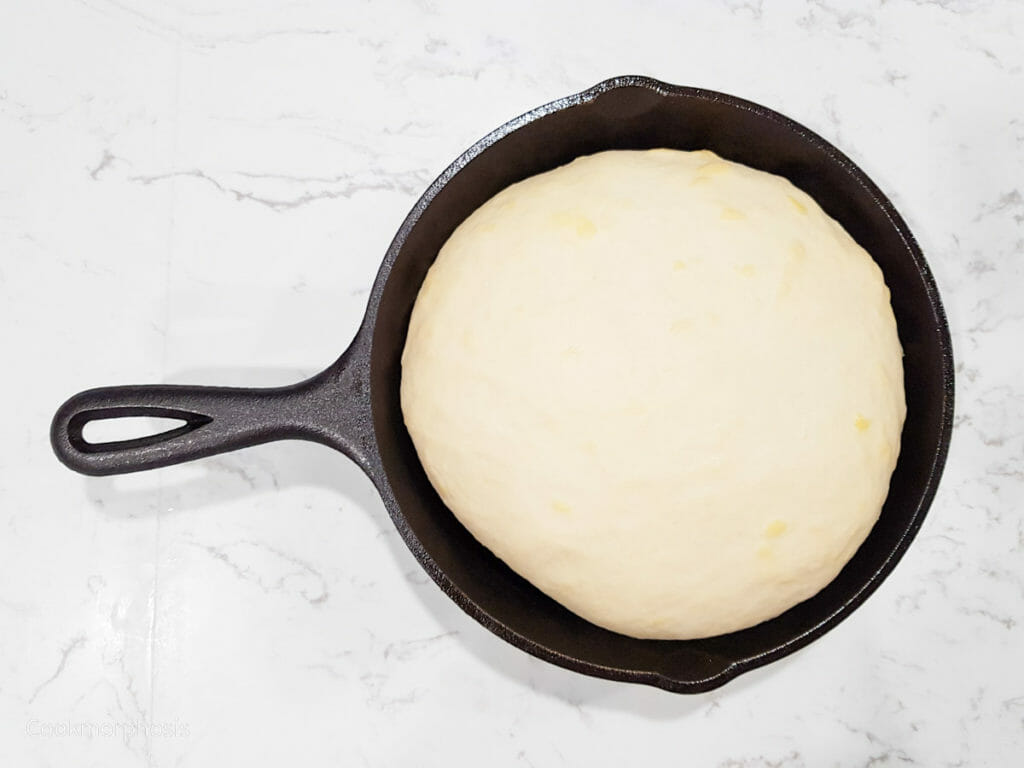
- Heavily grease your choice of Dutch oven with rice flour or line with parchment paper. I used my 8 inches cast iron for this homemade artisan cheese bread.
- Transfer the dough to a lightly floured surface. Press and stretch the dough into a round shape then add the remaining of shredded cheese in the middle of the dough.
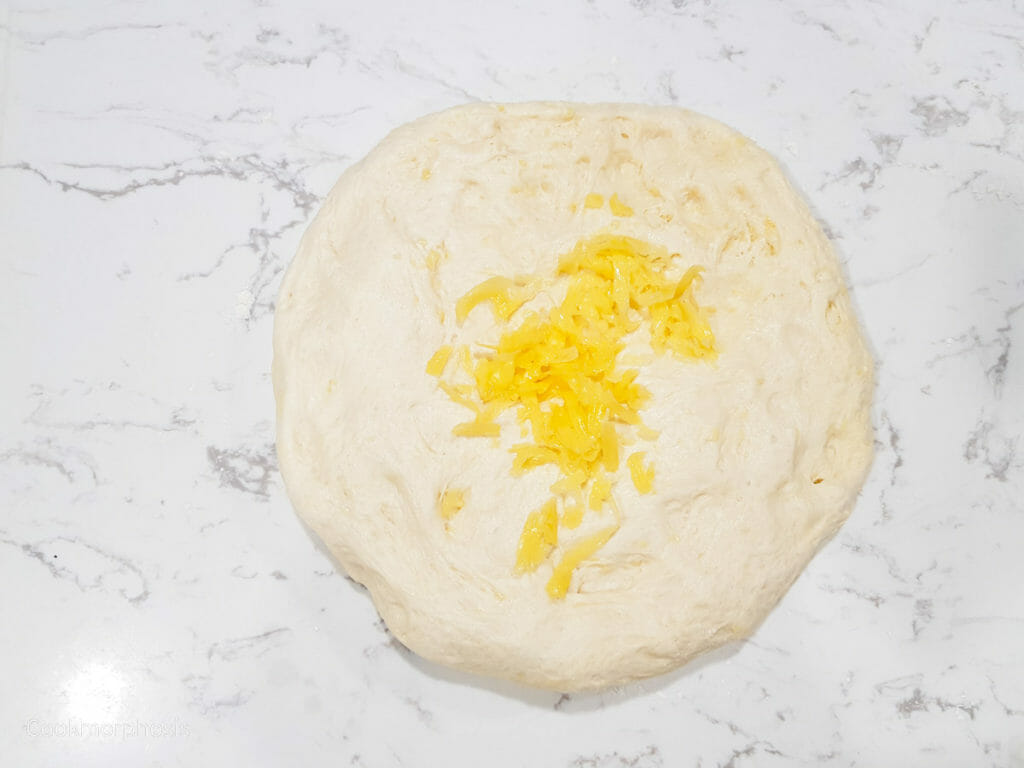
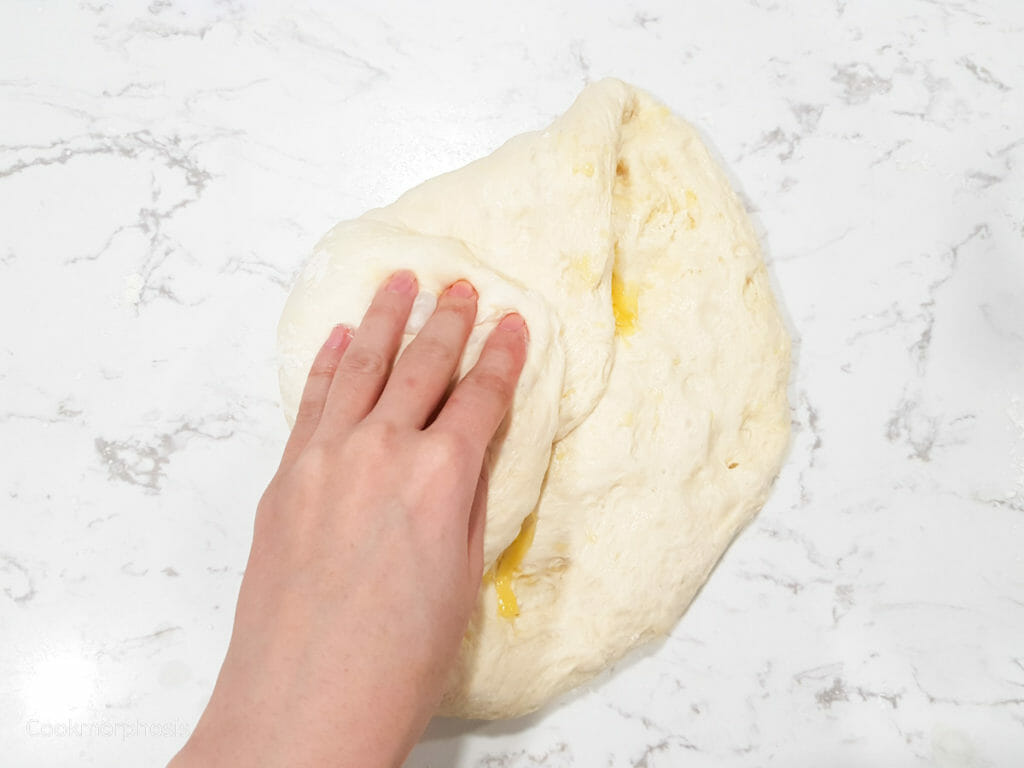
- Repeat the above folding process: pick up the edge of the dough fold toward the middle.
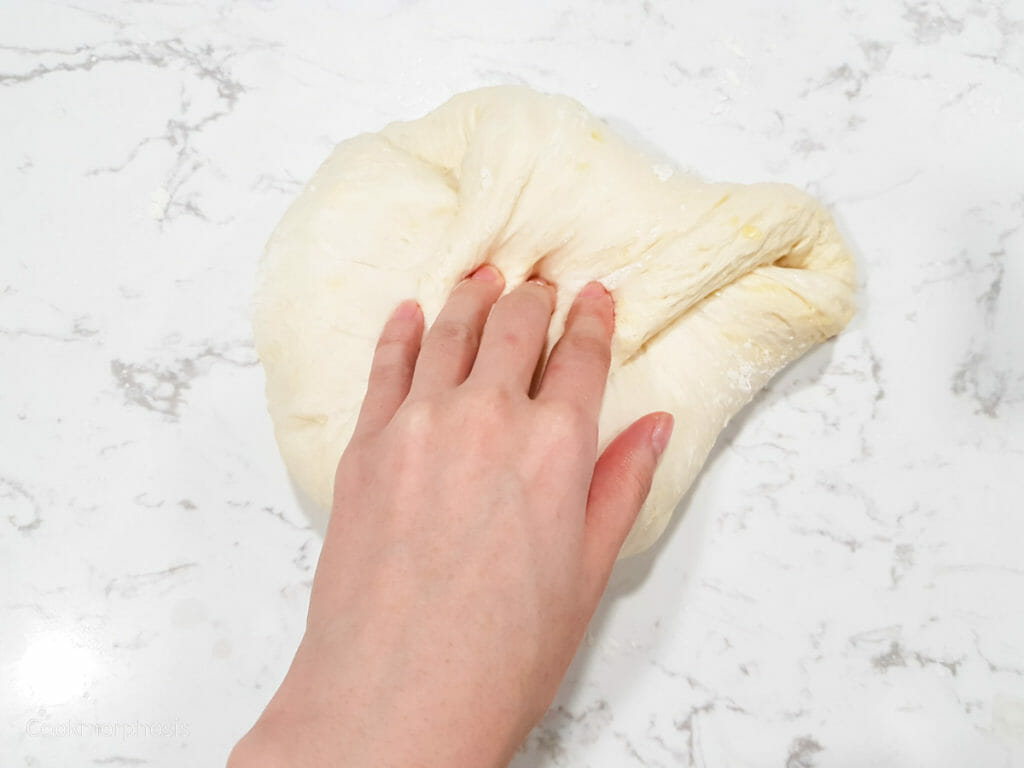
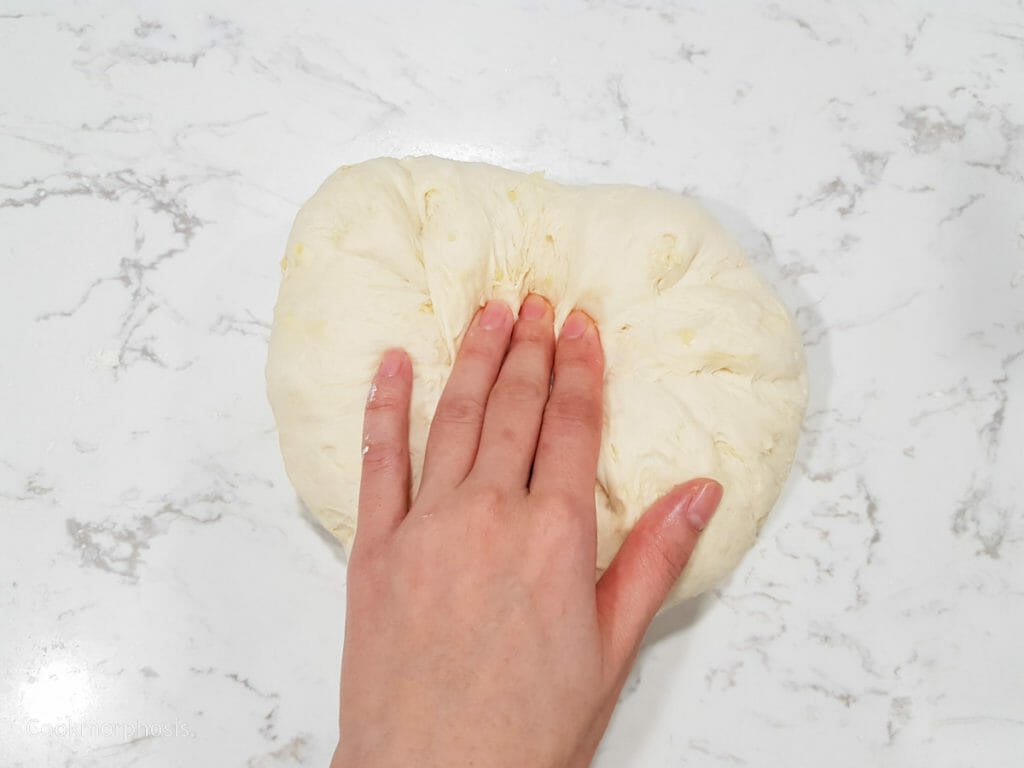
- Then put the dough seam side down, using both of your hands to drag the dough into small circle and form it into a smooth round dough.
- Place the dough seam side down, in your desired baking pan. Cover it (make sure to leave plenty of room for the dough to rise) and let it double in size, approximately 1 to 1.5 hours. I use a big mixing bowl to cover my bread dough. If you're using Dutch oven, you can put it inside a clean trash bag to proof the dough.
- By proofing your bread dough directly on your choice of baking pan (Dutch oven/cast iron), you will avoid running into a risk of deflating it while turning the dough from proofing basket onto baking pan later.
Scoring and baking process
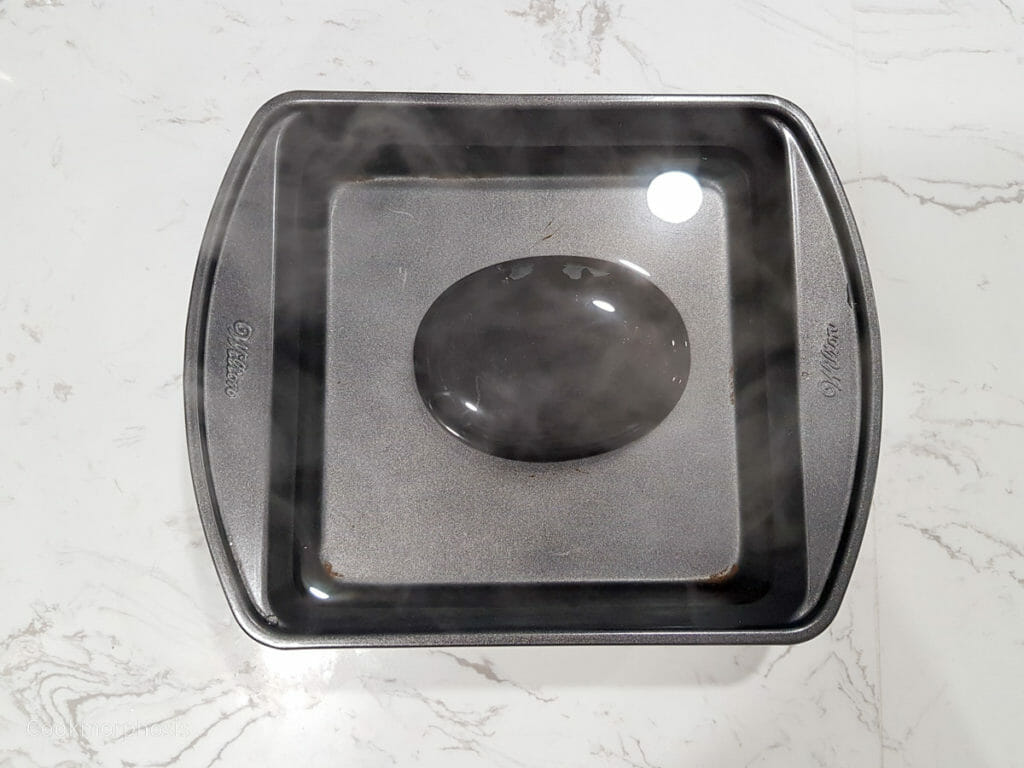
- Prepare a hot water bath with a hot stone and put on the lowest rack of the oven 30 minutes before baking time to create steaming effect.
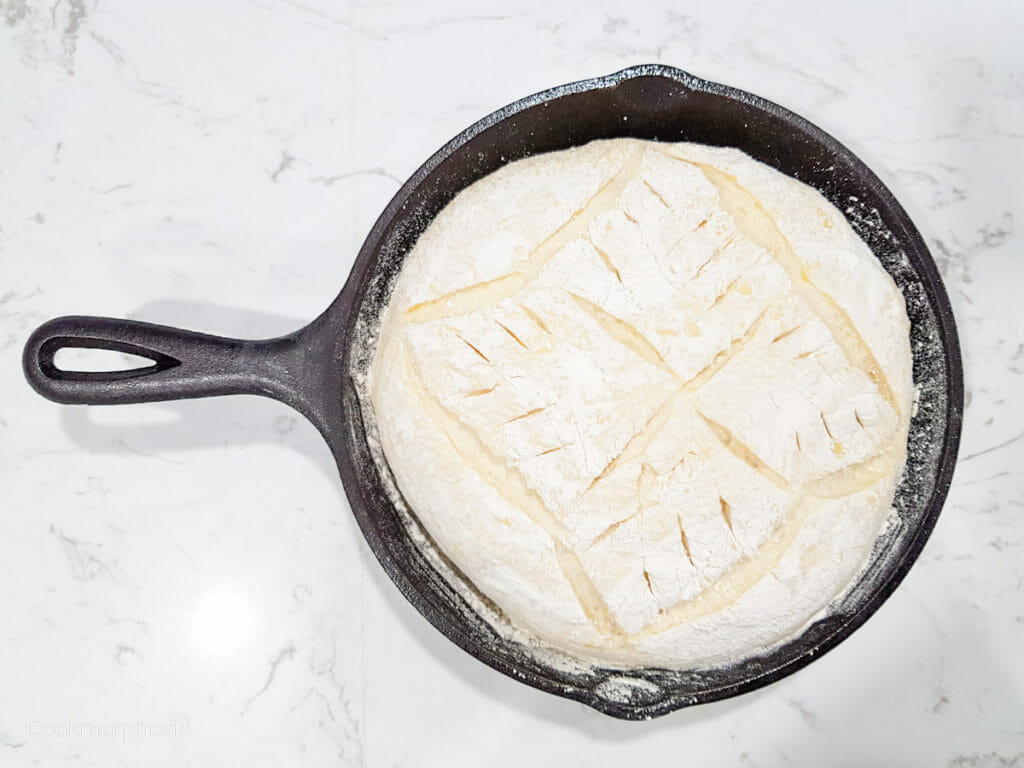
- You can dust flour over the top of the bread before scoring to create an Artisan bread effect (50% rice flour + 50% bread flour). Rice flour has a higher scorch temperature that helps it retain its white color in the oven. If you prefer all white surface on the bread after baking, use 100% rice flour.
- Use a fine-mesh sieve filled with dust flour, hold it above the bread dough and gently tap the sides as you move around to evenly coat the surface.
- Using a sharp knife or a sharp lame concave make desire patterns on top of the loaf (about ½ inch deep for each slash).
- Put the loaf into the oven immediately. You can create more steam by spraying water into the oven right before closing the door. Bake the bread at 450 until the crust turns almost dark brown for 30 to 40 minutes. Remember to turn the pan half way during the process.
Serving and storing bread suggestions
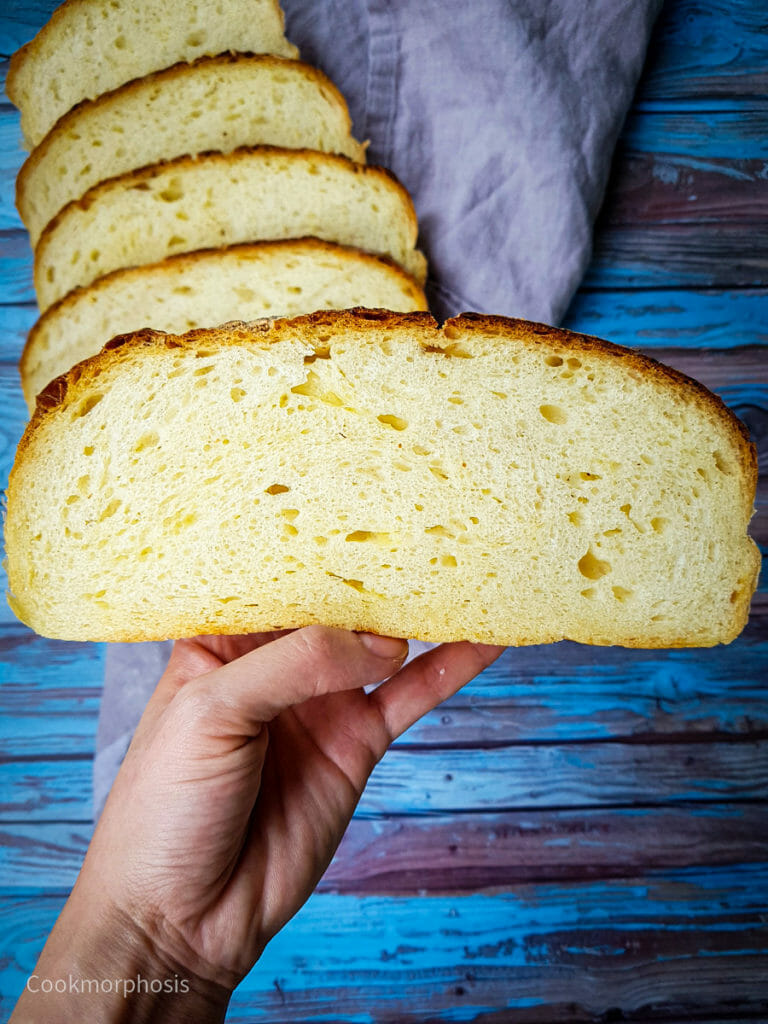
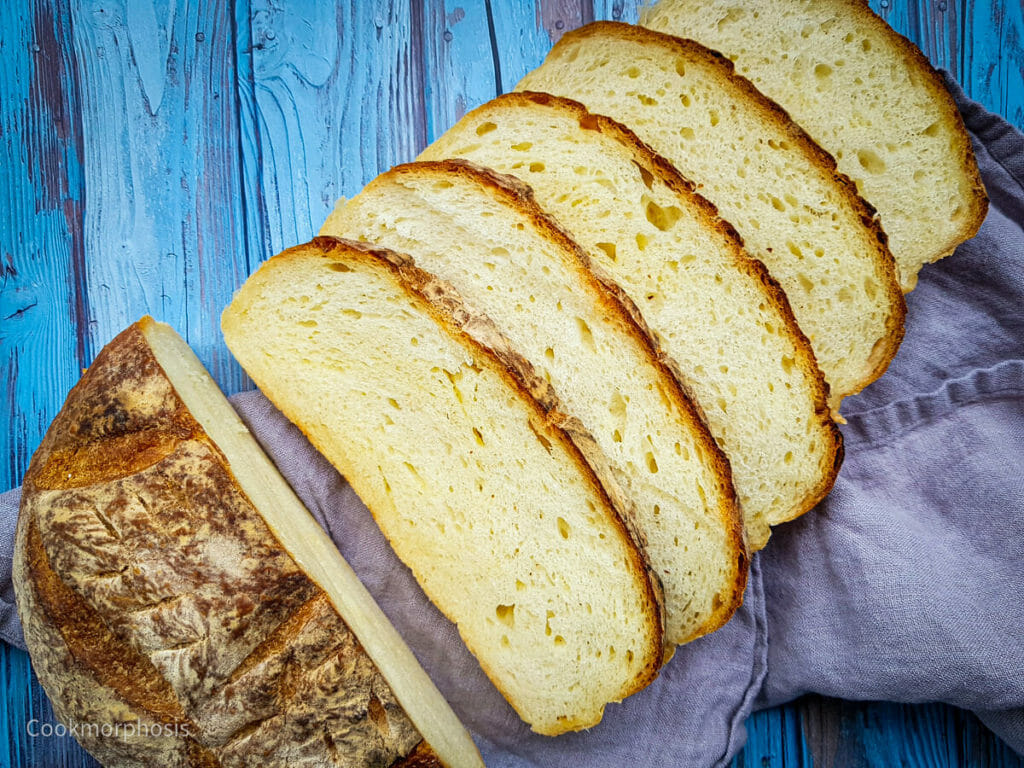
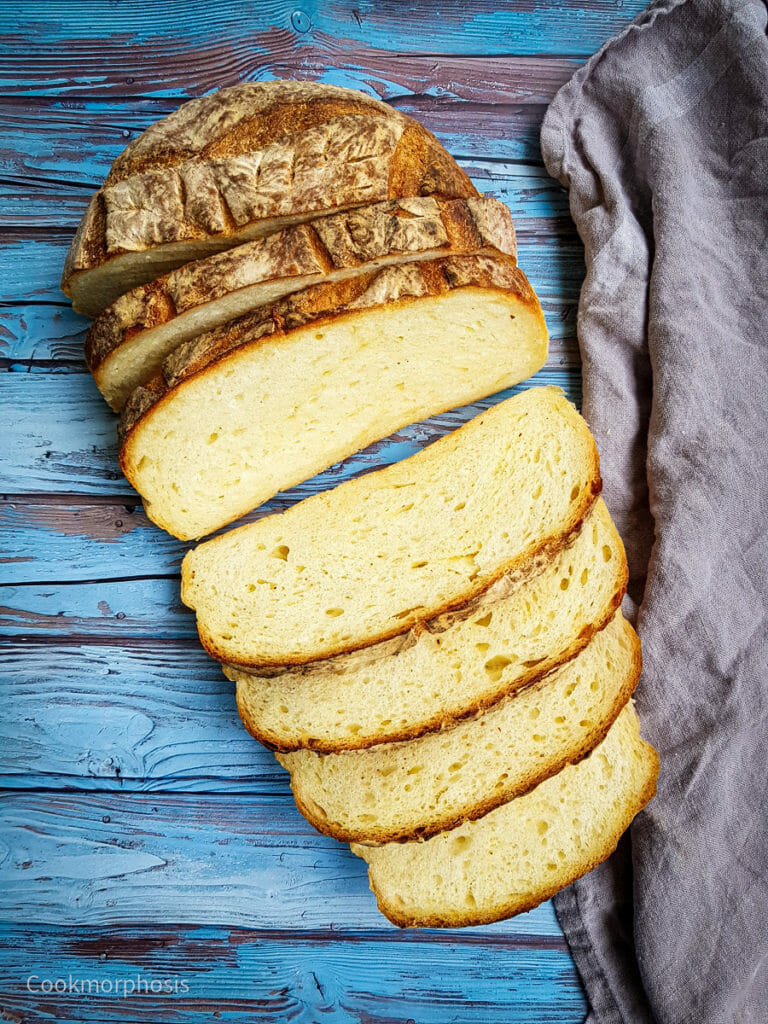
- It is best to wait for the bread cool down completely before slicing and serving. Approximately 2 hours at room temperature.
- Slicing the bread too soon when it is still warm will result in a gummy and sticky slices of bread.
- If you plan to eat the bread within one day, you can just simply store the bread cut side down on a cutting board or any flat, clean surface that's big enough for the bread. The rustic crust will help to seal and maintain the bread flavor & texture from staling and drying.
- Otherwise, wrap your homemade artisan cheese bread in bee wax paper or parchment paper, or put it inside a paper bag can keep it up to 2 days, at room temperature.
- Don't store artisan bread, or any bread in refrigerator as it'll become stale faster than store at room temperature.
Other bread inspired recipes
Lets check out these enriched bread recipes, I bet you'll love these:
- Homemade ciabatta bread
- Fluffy condensed milk bread
- Soft cinnamon raisin bread
- Honey dinner rolls recipe
- Butter Parker house rolls
- Homemade savory cream cheese kolaches
Did you make this recipe? If so please leave a rating and let me know how it went in the comment section. Also, don't forget to tag me #cookmorphosis @cookmorphosis on social media.
Homemade artisan cheese bread - Yeasted bread recipe
Ingredients
For the sponge
- 1 c bread flour
- 1 c water room temperature
- ¼ tsp instant yeast
For the dough
- 2 ⅓ c unbleached bread flour
- 1 ¼ tsp instant yeast
- ¾ c 1 tbsp water room temperature
- 1 tsp salt
- 2 c cheddar cheese freshly shredded
Instructions
Make sponge starter
- For this recipe, use a measuring 4 cup glass or a large mixing bowl so the sponge has room to rise.
- Stir together bread flour, water (room temperature) and yeast with a spoon/fork until everything is combined. Cover tightly with plastic wrap.
- Let the sponge sit at room temperature until it has risen and begins to collapse before incorporate into flour mixture. Approximately 8 hours (maximum 24 hours).
Mixing process
- In a mixing bowl of a stand mixer, combine flour and yeast. Stir water into the sponge. Use a dough hook at medium-low speed, slowly add sponge mixture into the flour, then mix everything until the dough starts to form and no dry ingredient remains in the bottom of the bowl.
- Use a spatula to scrape down the sides of the bowl if necessary. There will be some wet flour stick to the sides, it is fine. Approximately 2 minutes.
- Cover the mixing bowl with plastic wrap or kitchen towel and let the dough rest for 15-20 minutes, the dough should expand after resting.
- Add salt to the dough and continue kneading on medium-low speed until the dough is smooth and pulls away from the side. Approximately 3 minutes.
- Add half the amount of cheese and continue kneading for 3 more minutes.
- Transfer the dough to a lightly grease large mixing bowl, cover it tightly with plastic wrap and let it rest for 30 minutes.
- The dough will expand almost by half after this resting period.
Hand kneading & proofing process
- Grease your hand lightly with flour and start kneading the dough.
- First fold: pick up the edge of the dough that is furthest from you and fold toward the middle. Turn the bowl about 45 degree and repeat the folding. Continue doing so for two complete rounds. Put the dough seam side down. Cover the mixing bowl tightly with plastic wrap and let it rest for 30 minutes.
- Second fold: repeat the above process and let the dough rest for another extra 30 minutes. You’ll notice the dough is expanding and easier to handle compared to the first fold.
- Third fold: repeat the process one more time. By this time, the dough is more elastic and very easy to handle. You might want to do three complete rounds instead of two because of the size of the dough now. Again, let the dough rest for another 30 minutes.
- Fourth fold: the last fold of this proofing/resting process. The dough is expanding to its desired size by this time. You’ll feel how light and elastic it is when doing the folding the process. After the fourth fold, let the dough rest for 1 to 1.5 hours or double in size.
Shaping process
- Heavily grease your choice of Dutch oven with rice flour or line with parchment paper. I used my 8 inches cast iron for this homemade artisan cheese bread.
- Transfer the dough to a lightly floured surface. Press and stretch the dough into a round shape then add the remaining of shredded cheese in the middle of the dough.
- Repeat the above folding process: pick up the edge of the dough fold toward the middle.
- Then put the dough seam side down, using both of your hands to drag the dough into small circle and form it into a smooth round dough.
- Place the dough seam side down, in your desired baking pan. Cover it (make sure to leave plenty of room for the dough to rise) and let it double in size, approximately 1 to 1.5 hours. I use a big mixing bowl to cover my bread dough. If you’re using Dutch oven, you can put it inside a clean trash bag to proof the dough.
- By proofing your bread dough directly on your choice of baking pan (Dutch oven/cast iron), you will avoid running into a risk of deflating it while turning the dough from proofing basket onto baking pan later.
Scoring and baking process
- Prepare a hot water bath with a hot stone and put on the lowest rack of the oven 30 minutes before baking time to create steaming effect.
- You can dust flour over the top of the bread before scoring to create an Artisan bread effect (50% rice flour + 50% bread flour). Rice flour has a higher scorch temperature that helps it retain its white color in the oven. If you prefer all white surface on the bread after baking, use 100% rice flour.
- Use a fine-mesh sieve filled with dust flour, hold it above the bread dough and gently tap the sides as you move around to evenly coat the surface.
- Using a sharp knife or a sharp lame concave make desire patterns on top of the loaf (about ½ inch deep for each slash).
- Put the loaf into the oven immediately. You can create more steam by spraying water into the oven right before closing the door. Bake the bread at 450 until the crust turns almost dark brown for 30 to 40 minutes. Remember to turn the pan half way during the process.
- Let the bread cool down completely, about 2 hours, before serving.
Notes
Serving and storing
- It is best to wait for the bread cool down completely before slicing and serving. Approximately 2 hours at room temperature.
- Slicing the bread too soon when it is still warm will result in a gummy and sticky slices of bread.
- If you plan to eat the bread within one day, you can just simply store the bread cut side down on a cutting board or any flat, clean surface that’s big enough for the bread. The rustic crust will help to seal and maintain the bread flavor & texture from staling and drying.
- Otherwise, wrap your homemade artisan cheese bread in bee wax paper or parchment paper, or put it inside a paper bag can keep it up to 2 days, at room temperature.
- Don’t store artisan bread, or any bread in refrigerator as it’ll become stale faster than store at room temperature.
Nutrition
Did you make this recipe? If so please leave a rating and let me know how it went in the comment section. Also, don't forget to tag me #cookmorphosis @cookmorphosis on social media.

I'm so excited. Can't wait for your feedback.
When do you add the 3/4 cup + 1 T room temp water? With the flour, yeast and sponge?
Hi Carolyn,
Sorry about that; I must've accidentally deleted that information. I just added it back to the recipe. The water needs to be added to the sponge; then, you can use a spoon or a fork to stir the mixture. After that, slowly add the sponge + water to the flour + yeast while mixing at medium-low speed. Hope this clarifies the misinformation :).
Thanks! I'm on the third fold - can't wait for dinner time!
I'm so excited. Can't wait for your feedback.