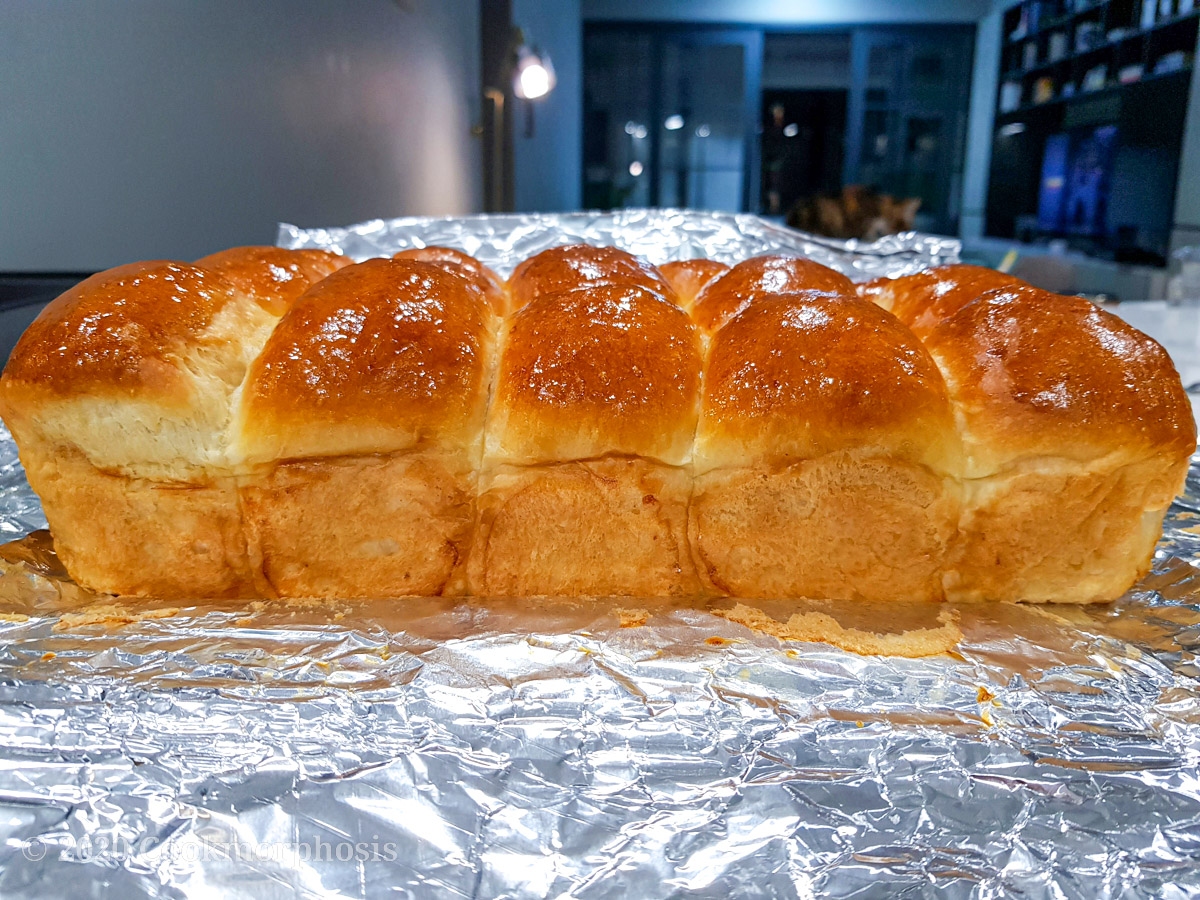
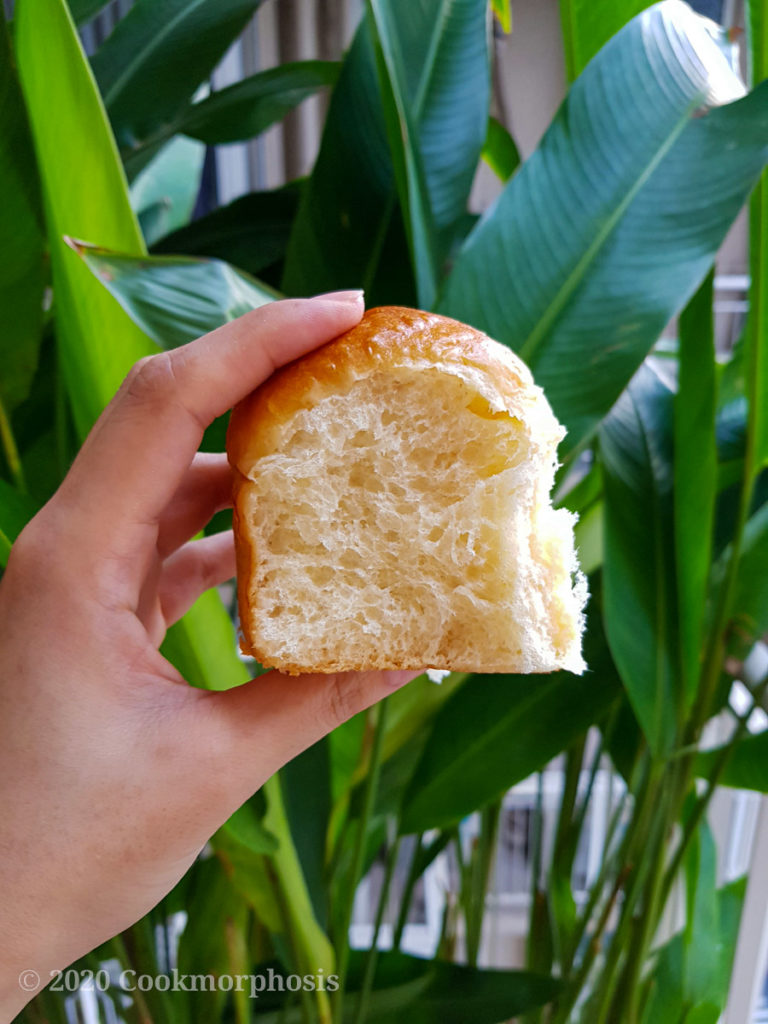
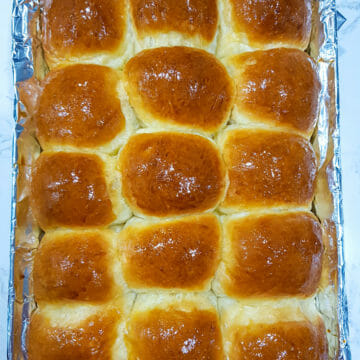
These homemade honey dinner rolls aren't just fluffy, shiny and delicious. They'll also be the best old-fashioned dinner rolls you've ever tried.
I would never imagine that one day I can really make dinner rolls from scratch. Ever since the first time I bought a Hawaiian dinner roll in Kroger 11 or 12 years ago, I have always adored and respected whoever came up with the recipe at the beginning.
This homemade honey dinner rolls recipe was tested both in commercial and home kitchen. So please rest assure you're gonna have the most satisfying and perfect old-fashioned dinner rolls.
As a dinner rolls big fan, I must say homemade rolls are the best. Store bought dinner rolls maybe softer but they taste artificially sweet to me.
Ingredients
- Bread flour - You can't substitute all purpose flour in this recipe. If you do so, the dinner rolls will be dense and feel heavy. Always use bread flour for this recipe and use a good one.
- I'm using King Arthur Unbleached Bread Flour for all of my bread-type bake goods. I tried a lot of different bread flour brands, but only King Arthur flour brought me the most satisfying results.
- Yeast - I use instant rise yeast from SAF red instant yeast. It is the world's top selling instant yeast.
- They also have the gold version of instant yeast. You can read more about the difference between SAF red instant yeast and SAF gold instant yeast; and how to store yeast HERE. Bonus: it also includes the most versatile homemade brioche recipe. Go for it.
- Salt - I always use Kosher salt for every single recipe on this blog and this dinner rolls recipe is not excluded.
- Unsalted butter - Always opt for unsalted butter when you are cooking or baking. Doing so helps you control the amount of salt in your baked goods easier.
- Milk - the fat in milk weaken the gluten structure of the baked good. So if you needed to add more liquid into the recipe, you should use water instead of more milks. Always stick with whatever the mount of milk called in the recipe.
- Honey and sugar - I only used a small amount of honey and sugar for these old-fashioned dinner rolls. You can add more sugar as desired.
- Eggs - eggs give the rolls extra structure and richness. Also, egg-wash helps to make the crust shiny with a perfect golden brown color.
Procedure for making yeasted dinner rolls
This procedure stay the same for all most all yeast rolls/bread baking recipe.
- Mixing - Combine dry and wet ingredients in a stand mixers fitted with hook attachment and mix well
- Kneading - Smooth out the dough surface and add more elastic structures to the dough
- First rise - Proof the dough for 1.5 to 2 hours or until the dough doubles in size
- Dividing and shaping - Punch the proofing dough lightly to deflate it. Then divide it in equal portions and shape into a desired form
- Second rise - Proof the shaping dough for an hour or until it doubles in size again
- Baking - at a right temperature, usually at 350F/175C
- Cooling and storing - the baked goods usually are cool almost completely before serving or slicing apart. There's different storing guidelines for different types of bread in order to maintain its texture and flavor.
How to store dinner rolls?
There are two ways of storing these undeniably tasty rolls:
- Refrigerate or freeze - in general, yeasted bread dough can be tightly wrapped and refrigerated or frozen after the first rise and shape into a desired form.
- Rolls can be refrigerated for up to a day. Refrigerated dough should be sit at room temperature for an hour before baking.
- Frozen dough should be thawed overnight in refrigerator. Then let the dough sit at room temperature for an hour before baking.
- Room temperature - store baked dinner rolls tightly wrapped at room temperature for up to 3 days. I don't recommend to refrigerate or freeze baked dinner rolls.
- These dinner rolls are best to be served warm. So if you can just pop your left over dinner rolls into microwave for 15 seconds, then you're good to go.
Related yeast rolls/breads recipe
- Butter Parker house rolls
- Fluffy condensed milk bread (most wanted recipe on this blog)
- No-knead classic brioche rolls
- Fluffy milk dinner rolls
- Soft cinnamon raisin bread
- Homemade artisan cheese bread
Did you make this recipe? If so please leave a rating and let me know how it went in the comment section. Also, don't forget to tag me #cookmorphosis @cookmorphosis on social media.
Honey Dinner Rolls
Equipment
- 13 by 9 inch baking pan
- Aluminum foil
- mixing bowls
- bench scraper
Ingredients
- 4.5 c bread flour prefer King Arthur unbleached bread flour
- 1 tbsp instant rise yeast prefer SAF red instant yeast
- 1 tsp salt
- 2 c milk
- 3 tbsp honey
- ⅛ c sugar add more if desired sweeter taste
- 3.5 oz unsalted butter melted
- 1 egg
Egg wash
- 1 egg beaten
- 2 tbsp milk
Honey glaze
- 2 tbsp honey
- 2 tbsp unsalted butter melted
For greasing mixing bowl
- vegetable oil as needed
Instructions
- In a mixing bowl, whisk honey, milk and melted butter until honey has dissolved2 c milk, 3 tbsp honey, 3.5 oz unsalted butter
- Combine all dry ingredient in a bowl of a stand mixer fitted with hook attachment. On slow speed, slowly add milk mixture and egg and mix until the dough starts to come together. Scrape the side of the bowl down if needed.4.5 c bread flour, 1 tbsp instant rise yeast, 1 tsp salt, ⅛ c sugar, 1 egg
- Increase the speed to medium low and knead until the dough is smooth and starts to form a ball in the middle of mixing bowl. About 5-7 minutes. The dough supposed to be a little bit wet.
- Flour your hands and lightly flour your counter. Transfer the dough onto the counter and knead by hand to form a smooth round ball.
- Don't over work the dough. Transfer the dough seam side down in a lightly greased or lined with plastic wrap large mixing bowl. Cover the bowl with plastic wrap and let it rise for 1.5 to 2 hours or doubles in size. Whatever comes first.
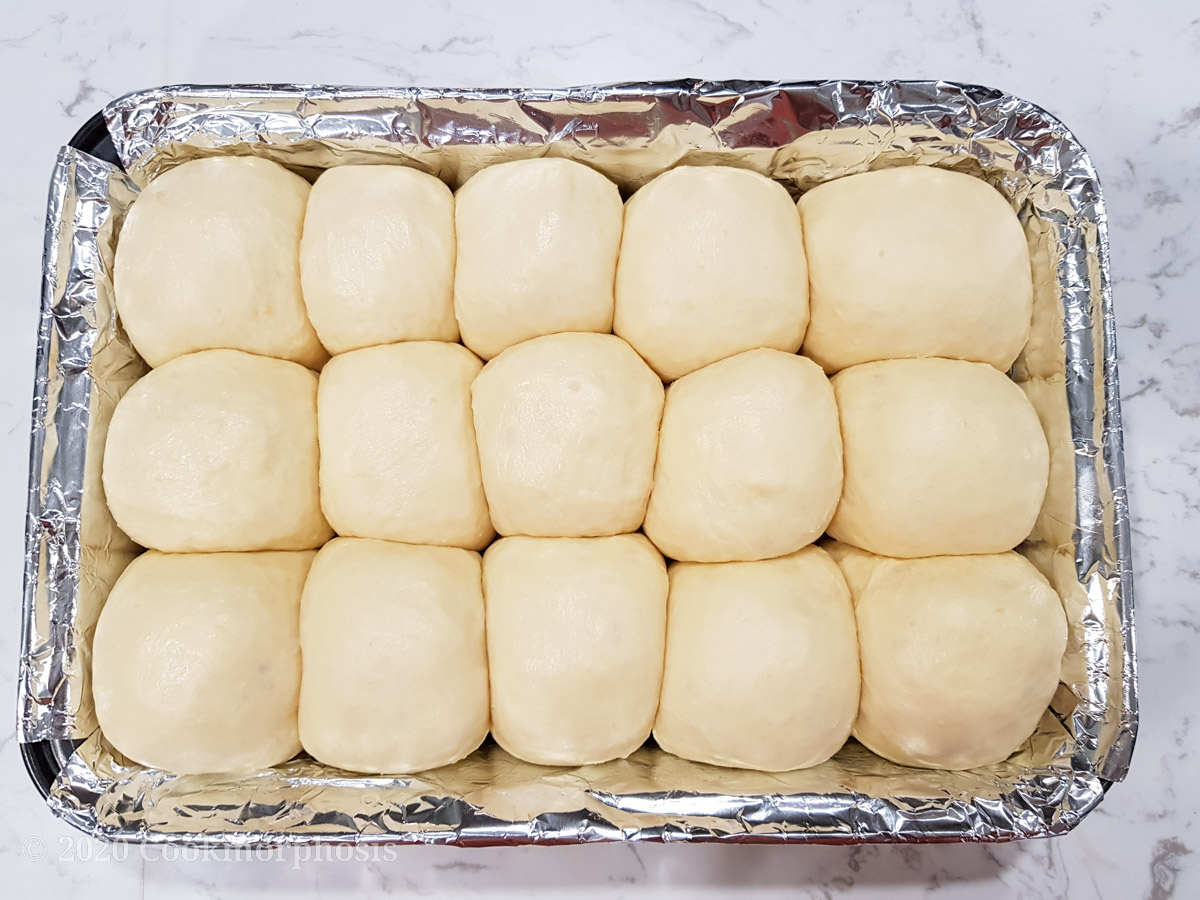
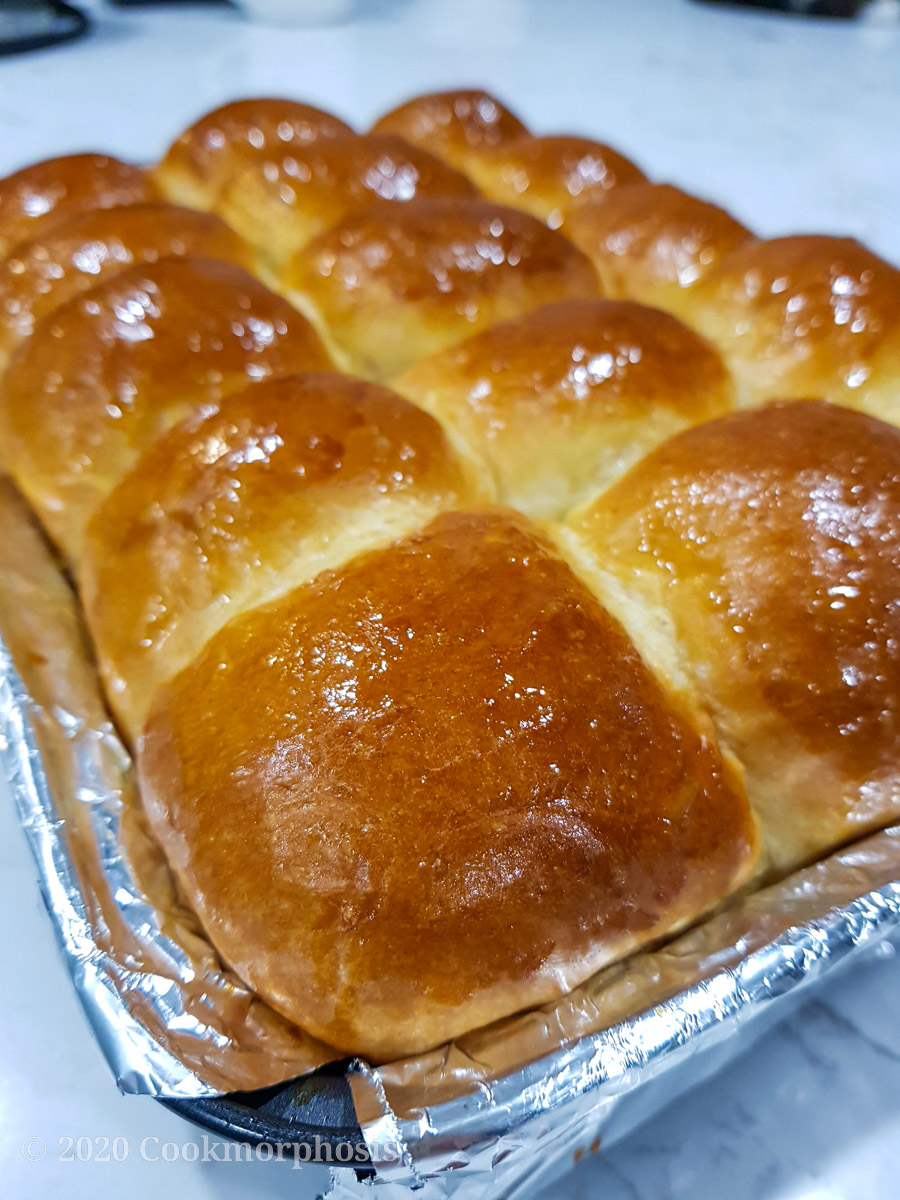
- Line your baking pan with aluminum foil with extra foil hanging over the edge of the pan. Spray or brush the foil with vegetable oil.vegetable oil
- Punch or press down on the dough to deflate it. Transfer the dough to a lightly floured surface. Portion the dough into 2.5 oz pieces by rolling it into a log or cut each piece directly from the dough using bench scraper.
- Working with 1 piece at a time. Remember to cover other pieces with plastic wrap to prevent them from drying out. Flour your hand before forming the dough.
- Form the small dough into a ball by folding the edges toward center until a ball form. Then flip the ball seam side down, using your hand to make small circles on the counter with the ball until it is perfectly round.
- Arrange the balls seam side down into 5 rows of 3 in lined baking pan. Cover loosely with plastic wrap and let them rise the second time for an hour or double in size. Whatever comes first.
- In a small mixing bowl, combine egg wash ingredients and mix well.1 egg, 2 tbsp milk
- Pre-heat oven to 350F.
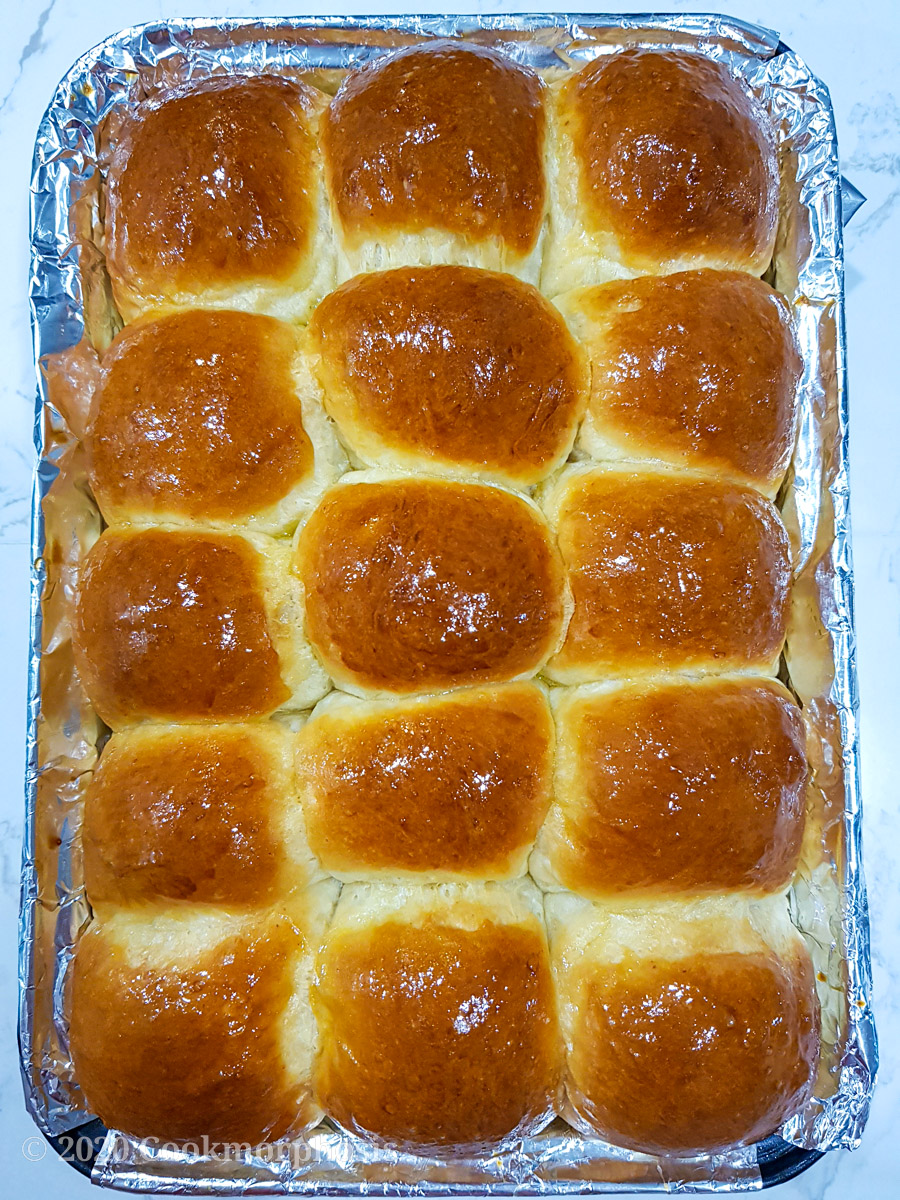
- Carefully brush the rolls with egg wash. Then bake them for 15 minutes. Rotate pan. Bake for another 10 minutes or until the top turns golden brown.
- NOTE: the baking time and temperature is different from ovens to ovens. I use well calibrated convectional oven. If you are not sure how well your oven is calibrated, you can adjust the baking time by looking and the color on the top of the rolls after rotating. Reduce or add more baking time if needed. It should not exceed 30 minutes of baking.
- Take baked dinner rolls out of the oven and let them rest for 5 minutes. Then brush them with honey glaze mixture. Using the foil to transfer them dinner rolls to serving dish.2 tbsp honey, 2 tbsp unsalted butter
- Dinner rolls should be served warm or at room temperature.
Notes
- You can't substitute all purpose flour in this recipe. If you do so, the dinner rolls will be dense and feel heavy. Always use bread flour for this recipe and use a good one.
- I use instant rise yeast from SAF red instant yeast. It is the world's top selling instant yeast.
- If you needed to add more liquid into the recipe, you should use water instead of more milks. Always stick with whatever the mount of milk called in the recipe.
What type of milk? Whole, 2% or skim?
Thank you
Hi Jeanne,
I used whole milk in the recipe, hope it helps 🙂