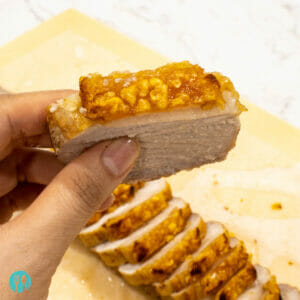
This homemade crispy pork belly recipe will show you how to make such perfectly golden, crackling skin of a roast pork belly every time with a secret step. Besides that puffy skin, it also has a restaurant-quality juicy and tender texture.
Since you are here for this classic Chinese-style crispy pork belly, you probably will also like other Asian-style classic recipes. Such as this juicy roasted duck, braised pork belly, or this Hong Kong soya sauce chicken.
Back to this incredibly crispy and puffy pork belly, I guarantee you will always get such fantastic skin every time if you follow every step of the recipe.
I can go on and on about how wonderful this recipe is, and probably it is one of the best crispy pork belly recipes out there. But I bet you don't have that patience due to these lips-smacking and juicy photos, right? How about we dive right into those steps of how to make such perfect crackling and crispy pork belly?
Cooking schedule for crispy, crackling pork belly
A day before
- 7:00pm - Clean pork belly
- 7:10pm - Prick pork belly with a fork/steak knife/meat tenderizer
- 7:30pm - Blanch in boiling water
- 7:35pm - Marinade and dry in a fridge, uncover
Cooing day
- 8:00am - Take pork belly out and prep for roasting
- 8:15am - Roast pork belly for 35 minutes, rotate half way
- 8:50am - Take pork belly out of the oven and prep for puffy skin roasting
- 8:55am - Return pork belly to the oven (with grilling setting turned on)
- 9:10am - Pork belly skin is crispy, crackling and golden
- 9:15am - Rest for 5 minutes
- 9:20am - Ready to serve

Step-by-step instructions
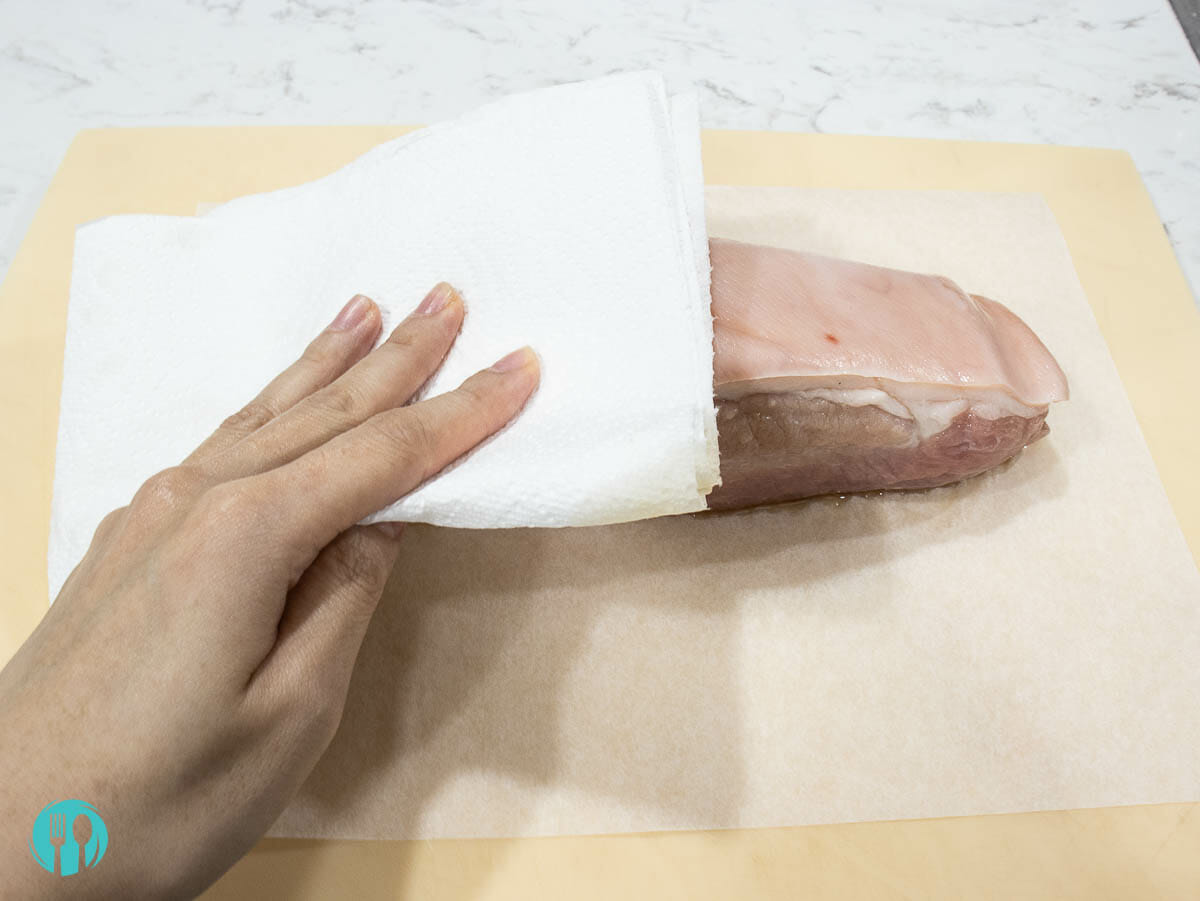
Clean: Rub and clean pork belly with rice cooking wine, then pat dry with a paper towel.
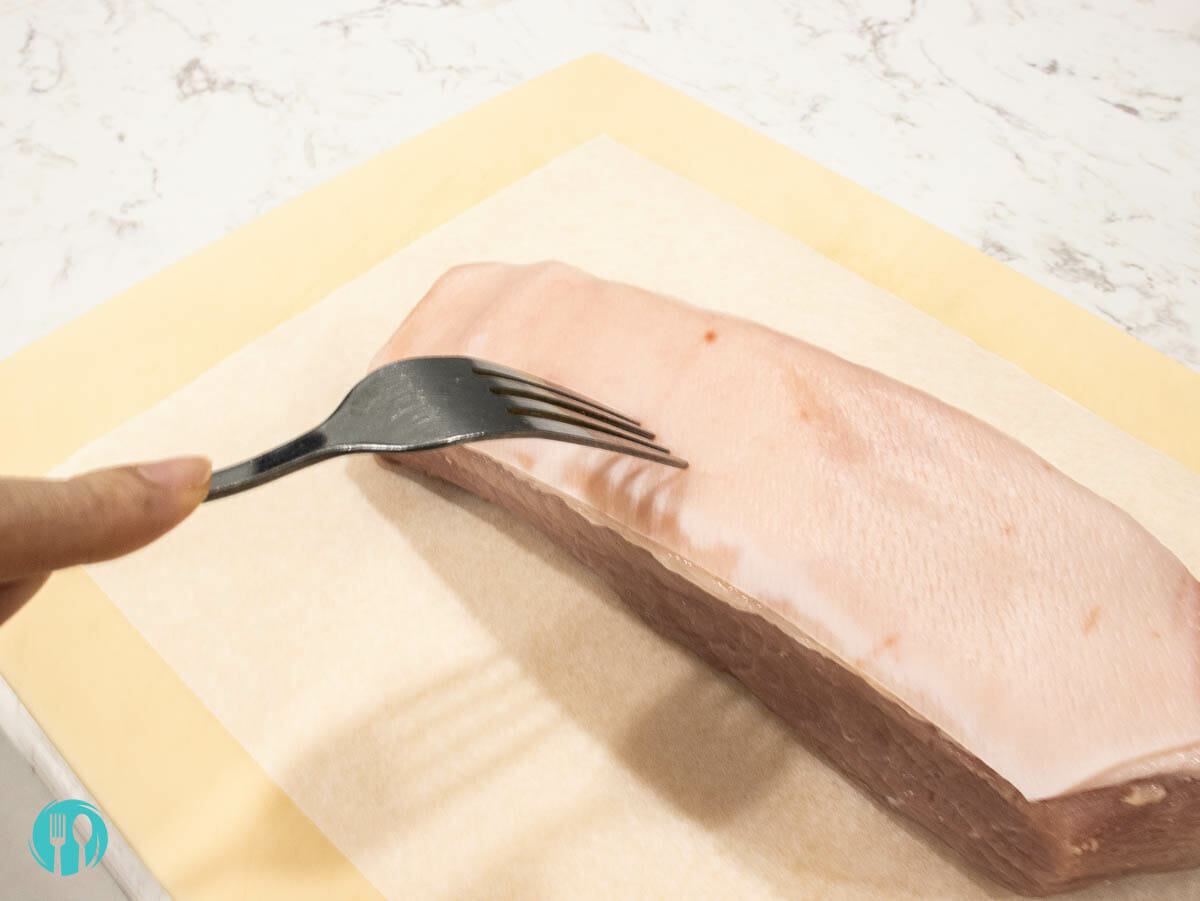
Prick the skin: Use a meat tenderizer, regular fork, or a steak knife to prick the skin. Remember to spend as much time as possible in this step. The more holes the skin has, the crispier & puffier it will become after roasting because these holes will aid in releasing moisture during the cooking process, which helps to make puffy skin.
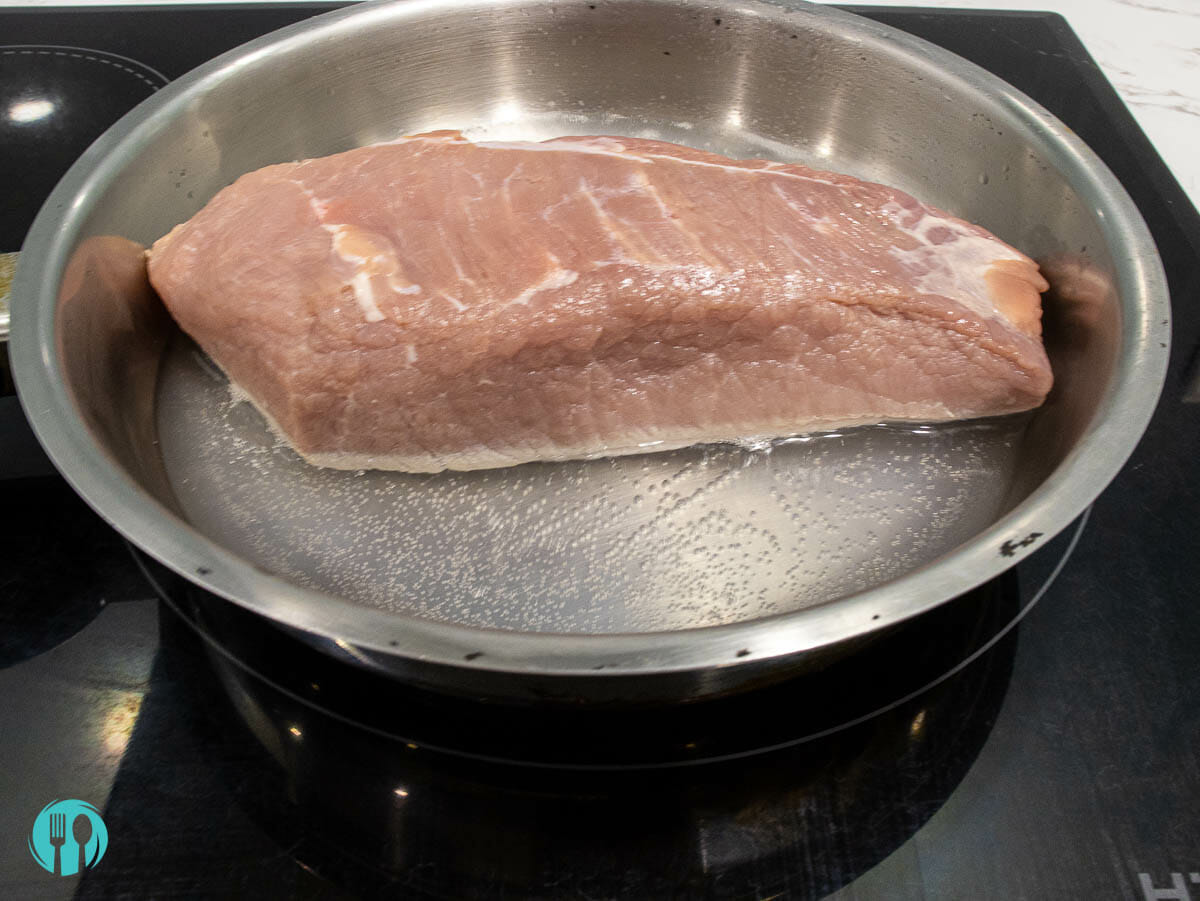
Blanch the skin (Secret step): In a large cooking pan, pour 1 to 1.5 cups of water and bring to boil (just enough to cover the skin area of the pork belly). Then quickly blanch the skin for 2-3 minutes; it depends on how thick it is (put belly in the pan with skin side down).
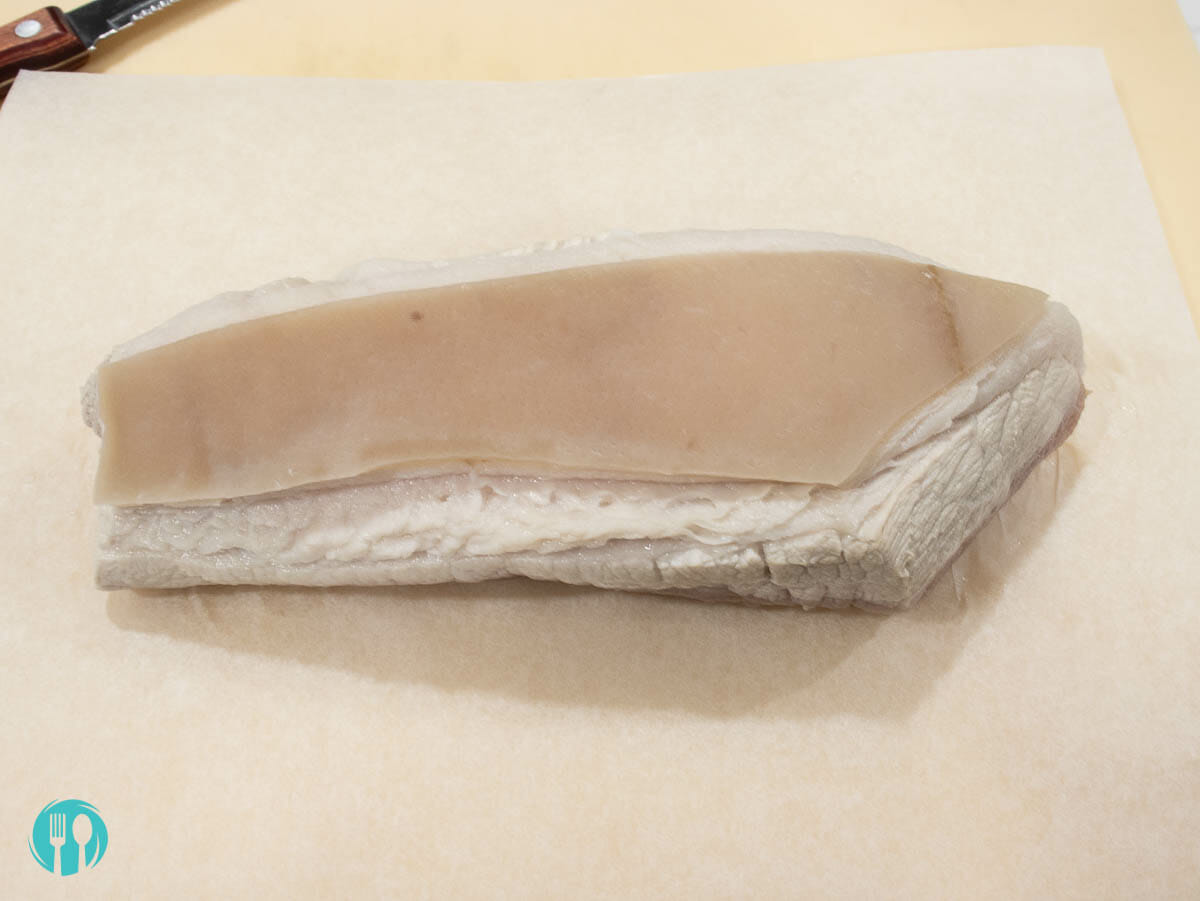
Prick more holes if needed: Take the pork belly out of hot boiling water and place it on a clean, flat surface. Skin side up. Check and prick more holes if needed.
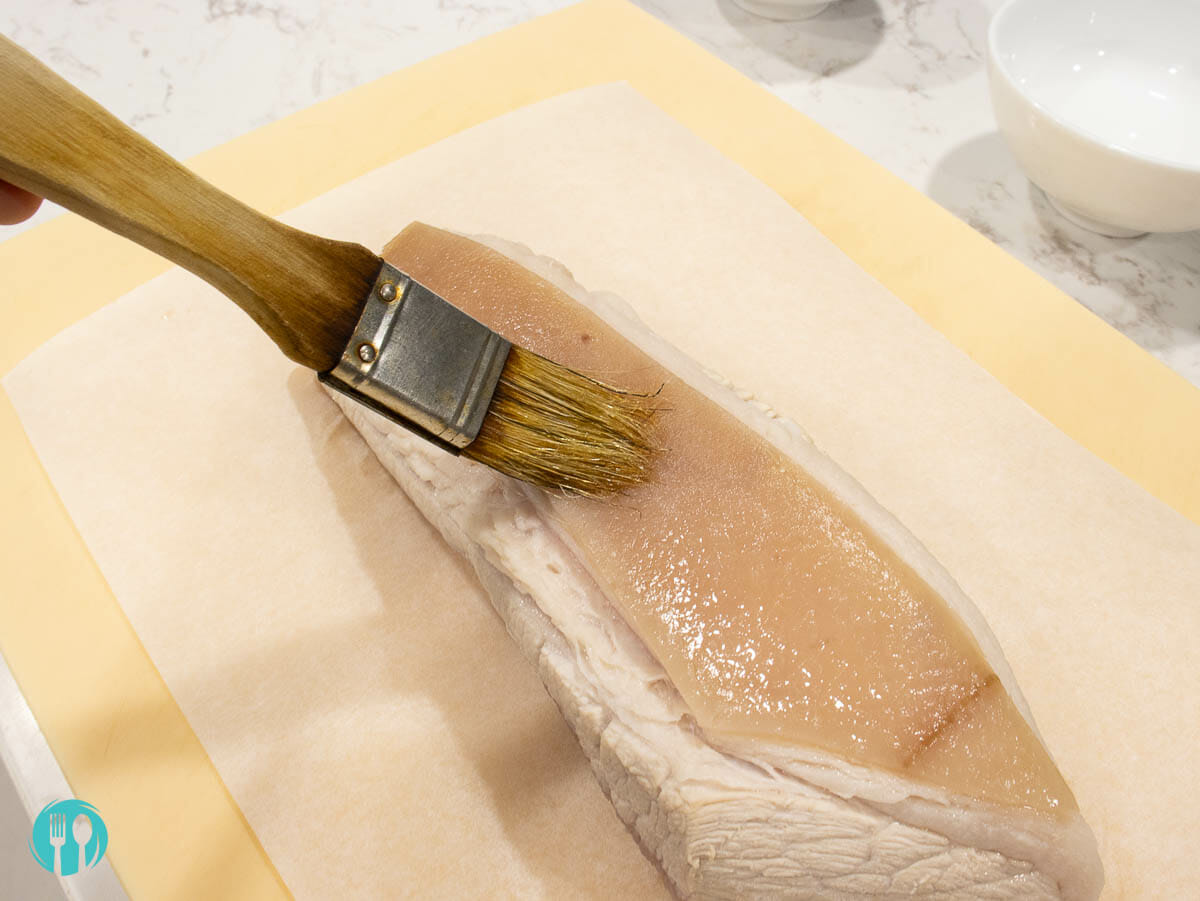
Brush with vinegar: Apply a thin layer of white vinegar on the skin’s surface using a pastry brush.
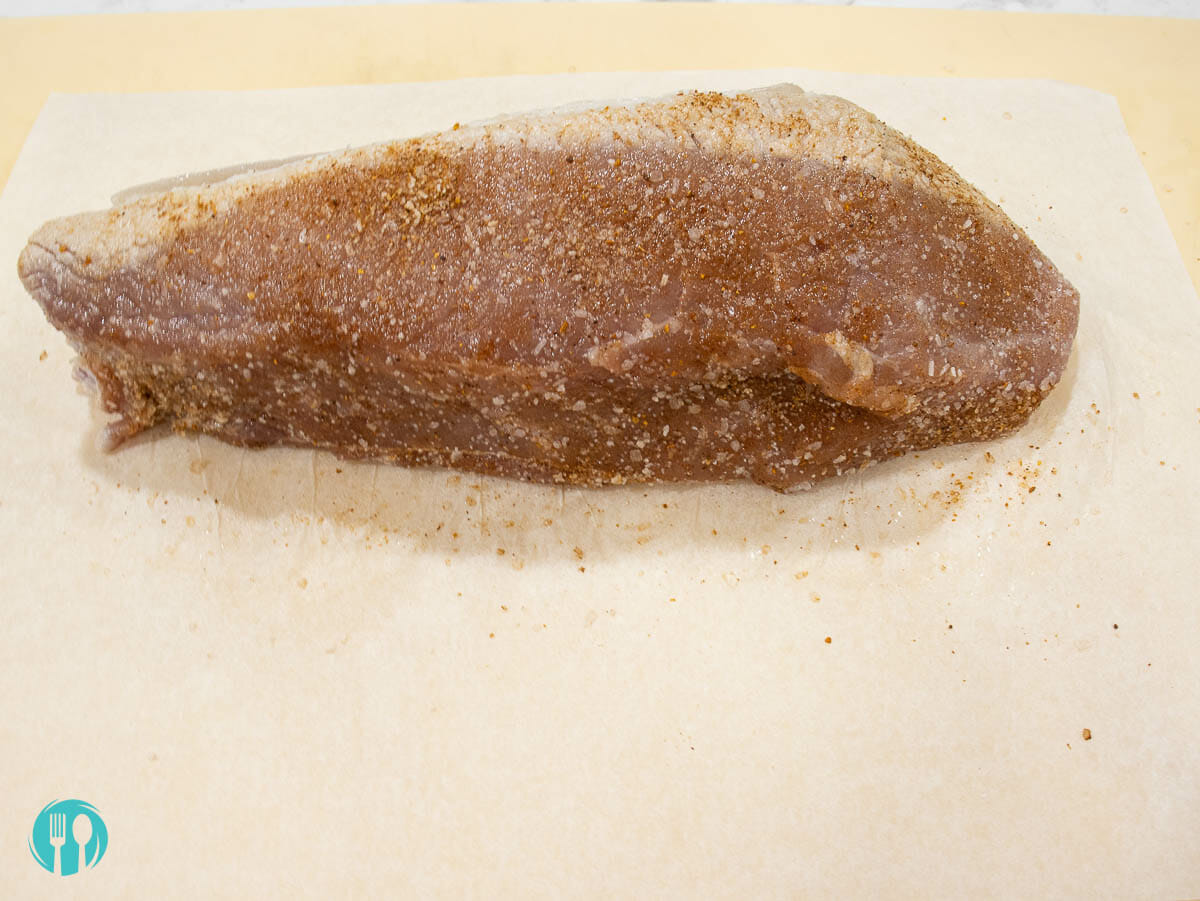
Add seasoning: Lightly dab salt and five spice powder on all the sides, except the skin side, of the pork belly.
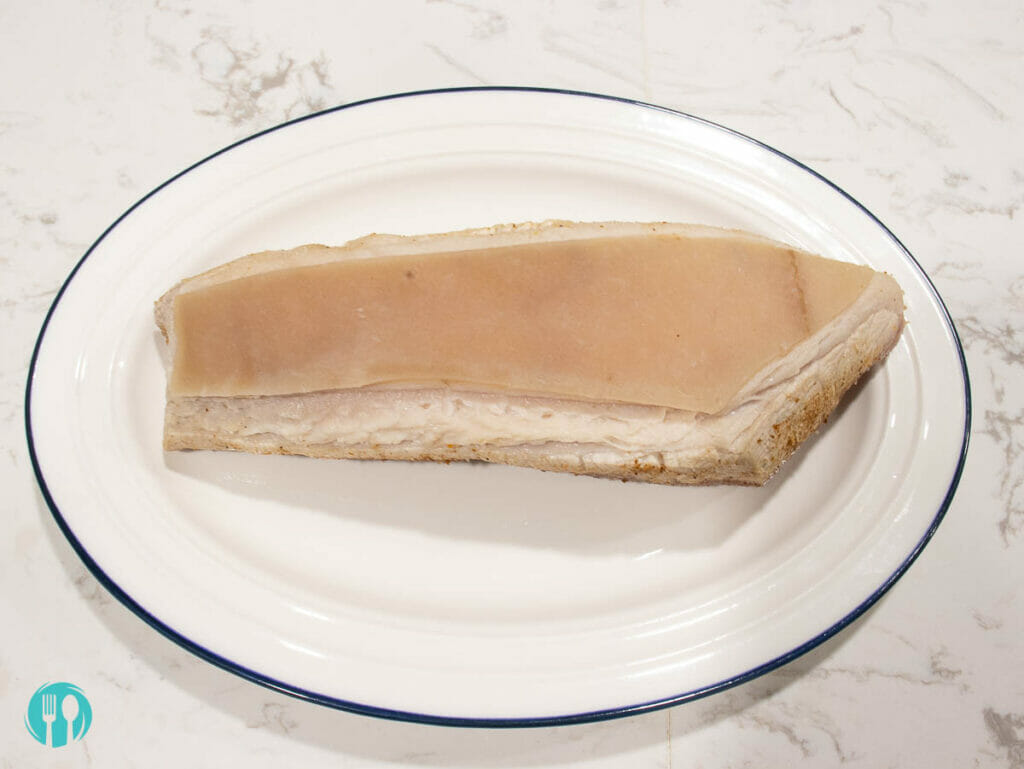
Marinade pork belly: Let the pork belly marinade and dry in the fridge, uncover, skin side up for at least 12 hours or up to 24 hours.
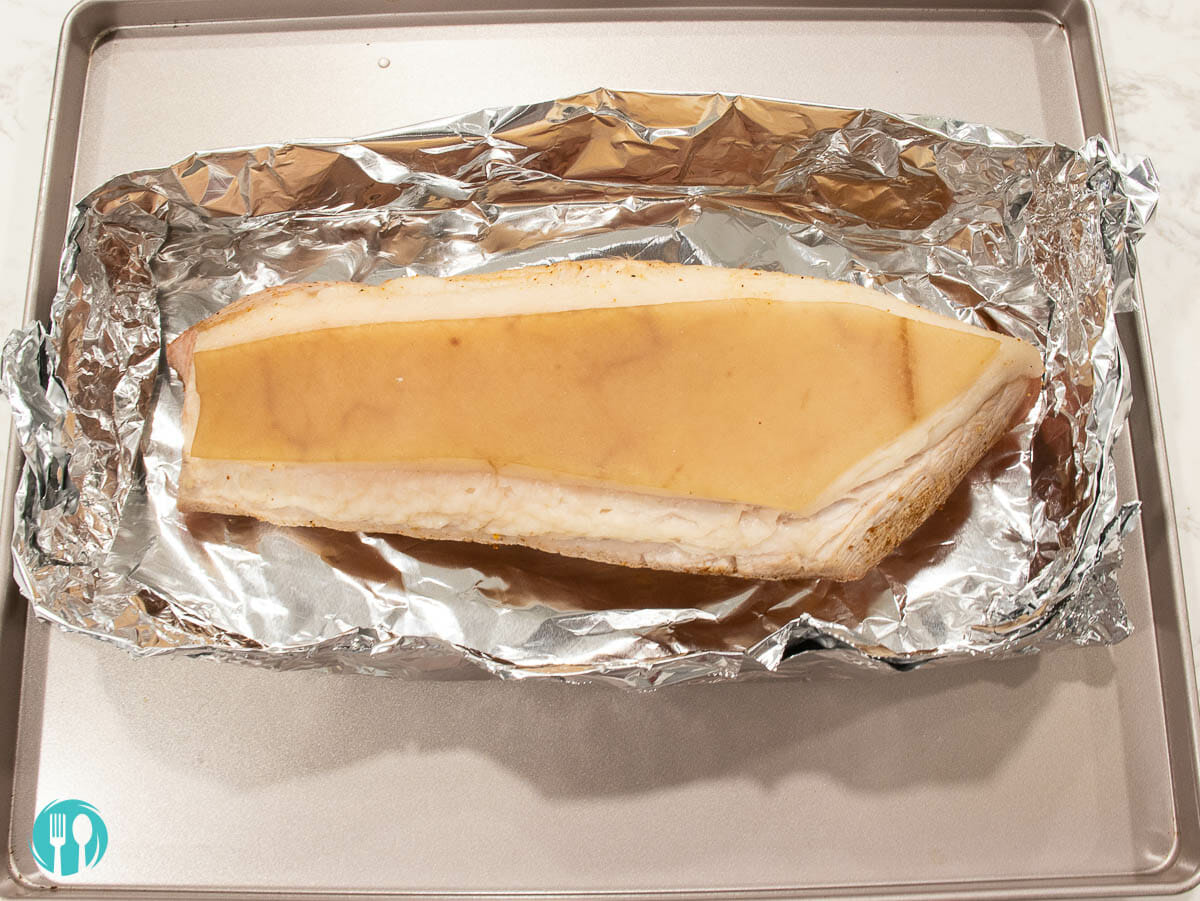
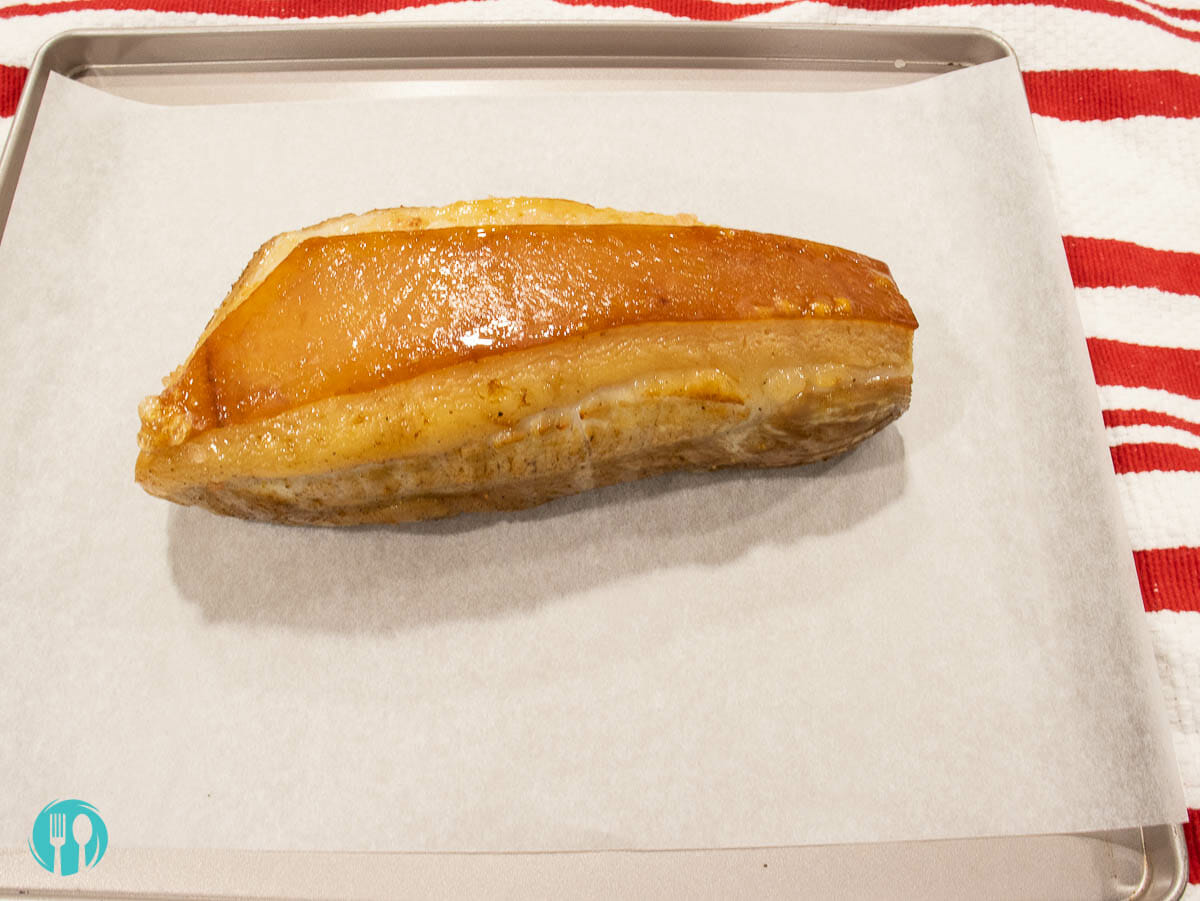
Prepare for roasting: Use aluminum foil to make a small rectangle pan so the pork belly can fit. Or you can use any rectangle baking pan.
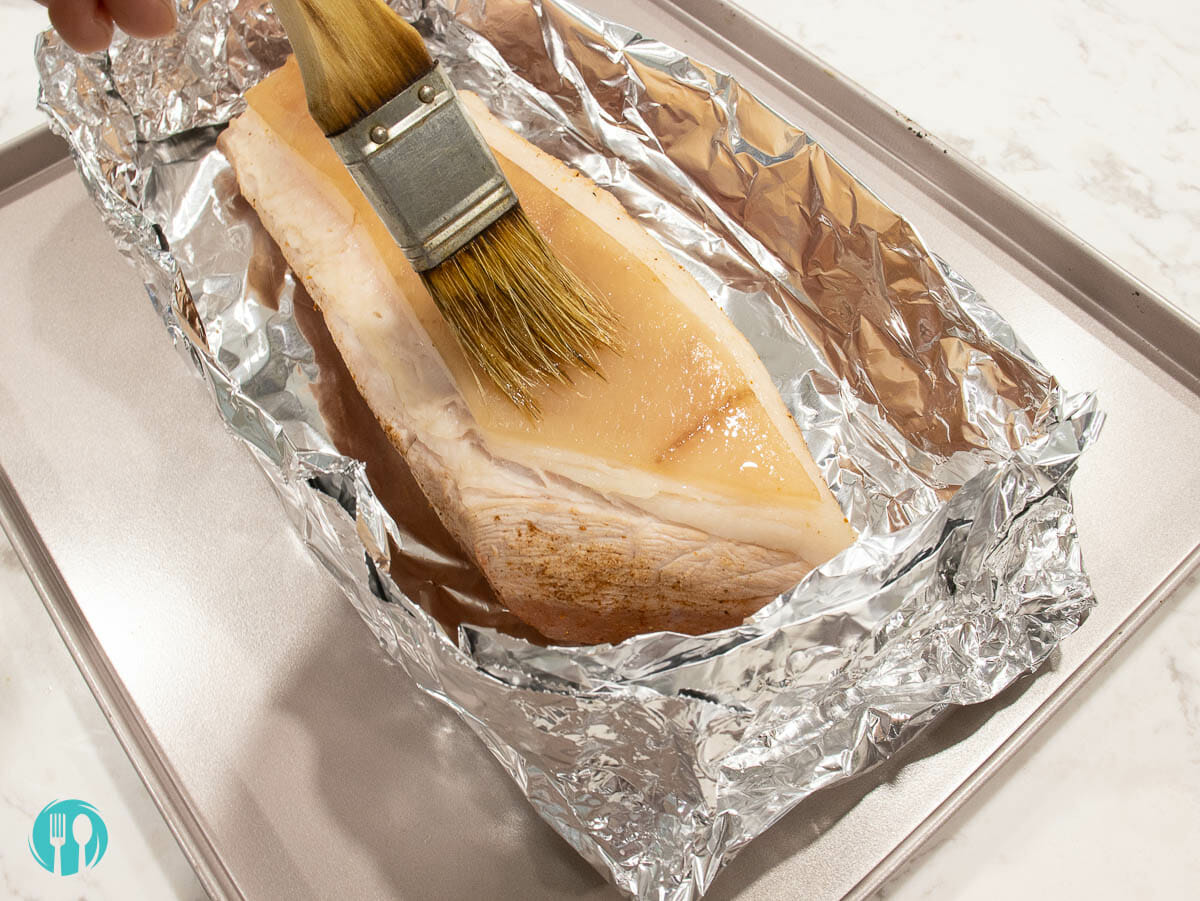
Apply vinegar again: Spread a thin layer of white vinegar on the skin using a pastry brush.
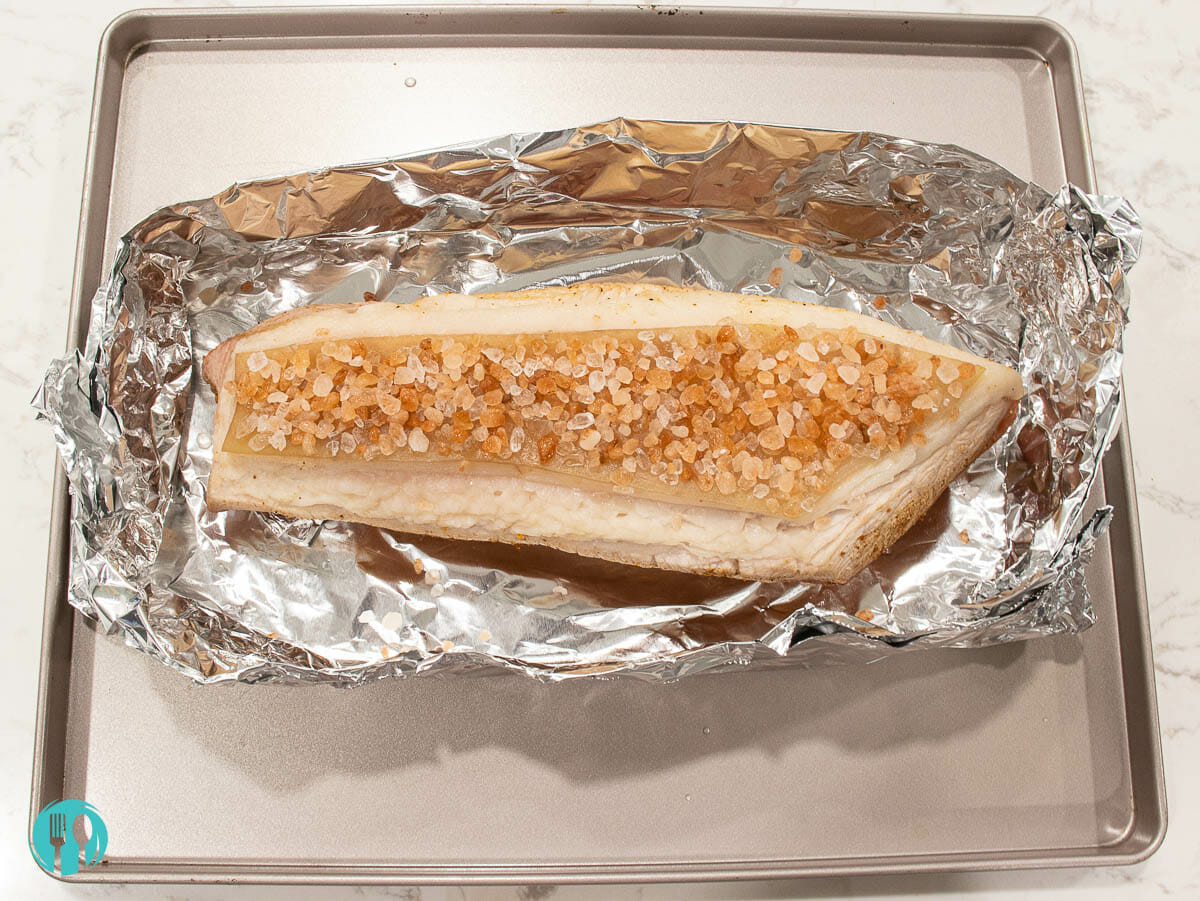
Add rock salt: Add a layer of rock salt to the pork belly. If the pork belly stays uneven, you can use extra pieces of aluminum foil and put them underneath the meat to level the surface.
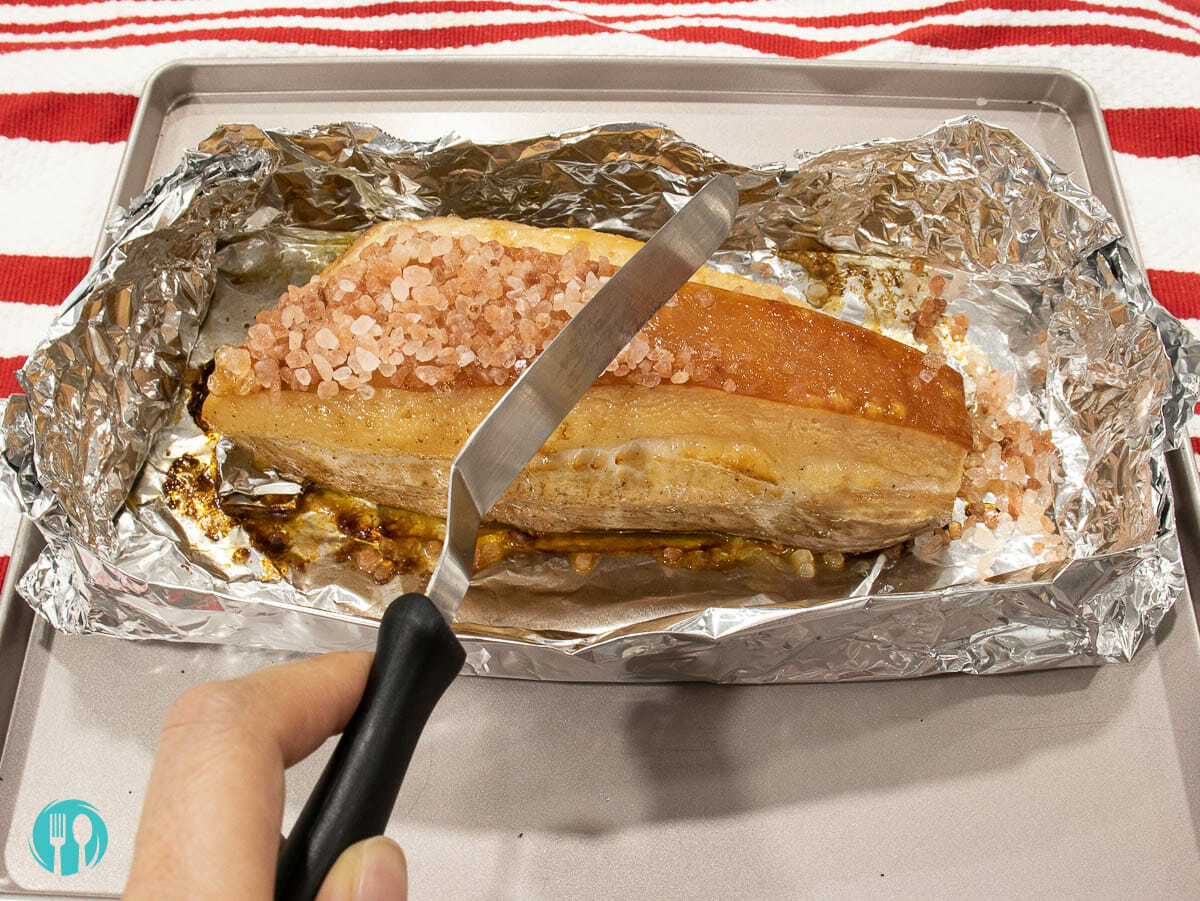
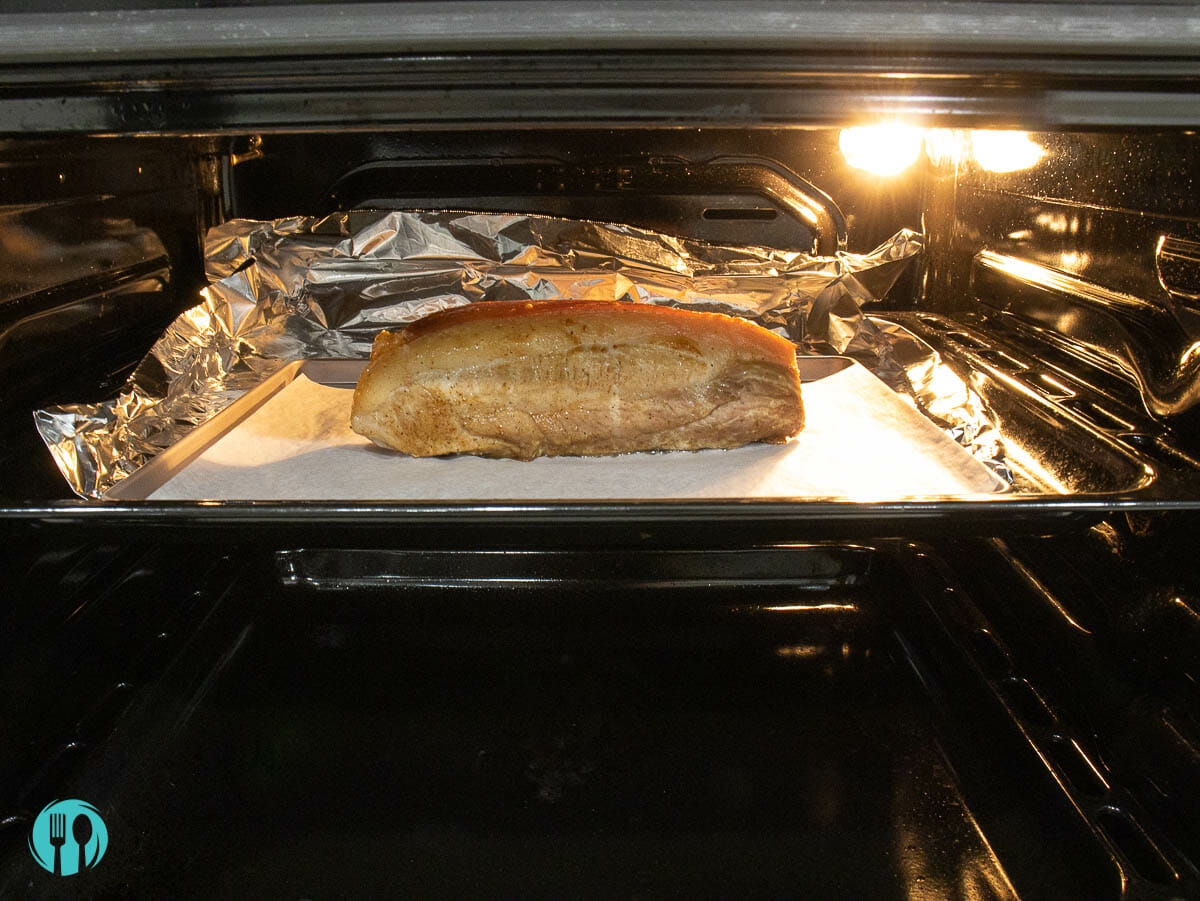
Roasting process: Put the pork belly on the middle rack in the oven and roast for 30-35 minutes. Remember to rotate it halfway through the process. After that, scrape away and discard the rock salt with the aluminum foil.
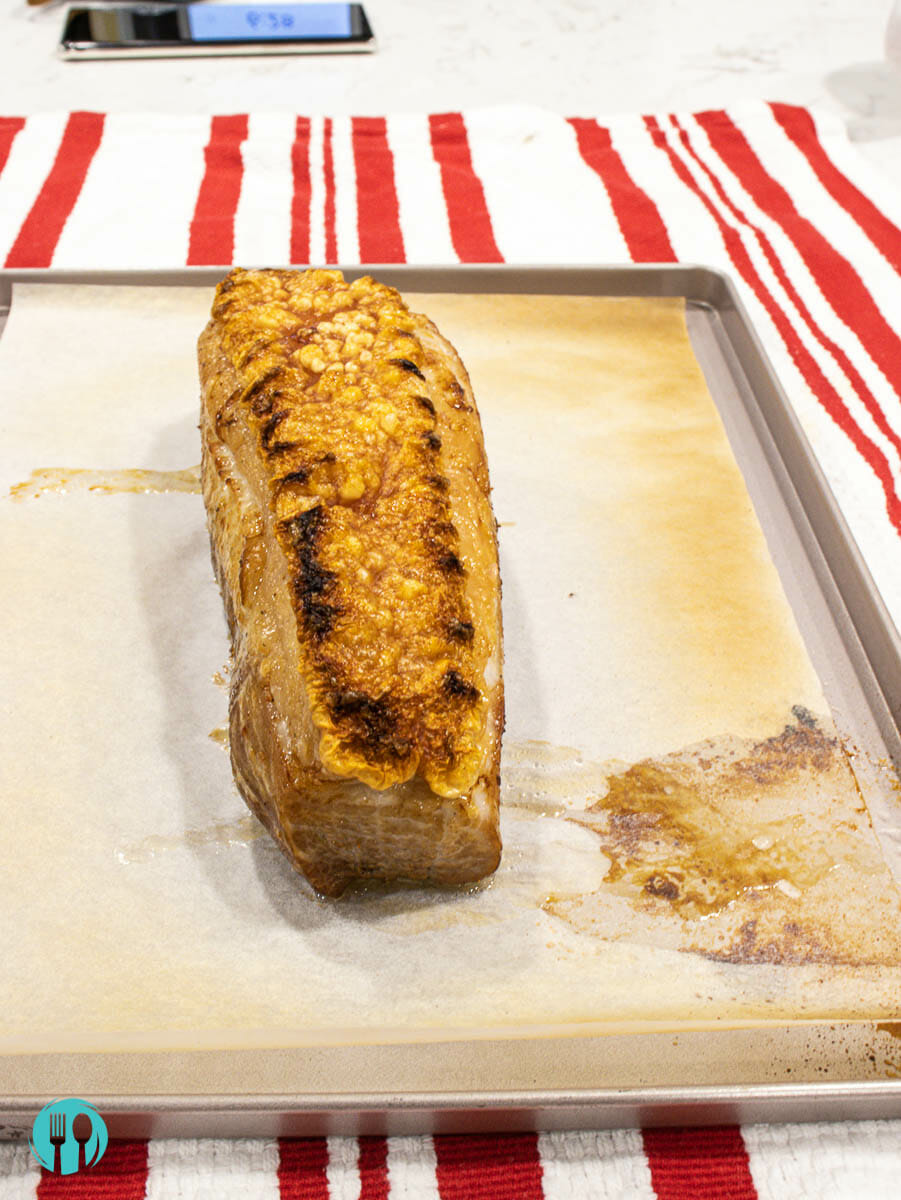
Make crispy, crackling skin: Turn the oven's heat to 370F and switch from roasting to grilling/broiling. Transfer pork belly to a clean baking pan lined with parchment paper.
Grilling/Broiling process: Put the pork belly on the highest rack in the oven and cook until the skin is entirely puffy. Approximately 8-10 minutes
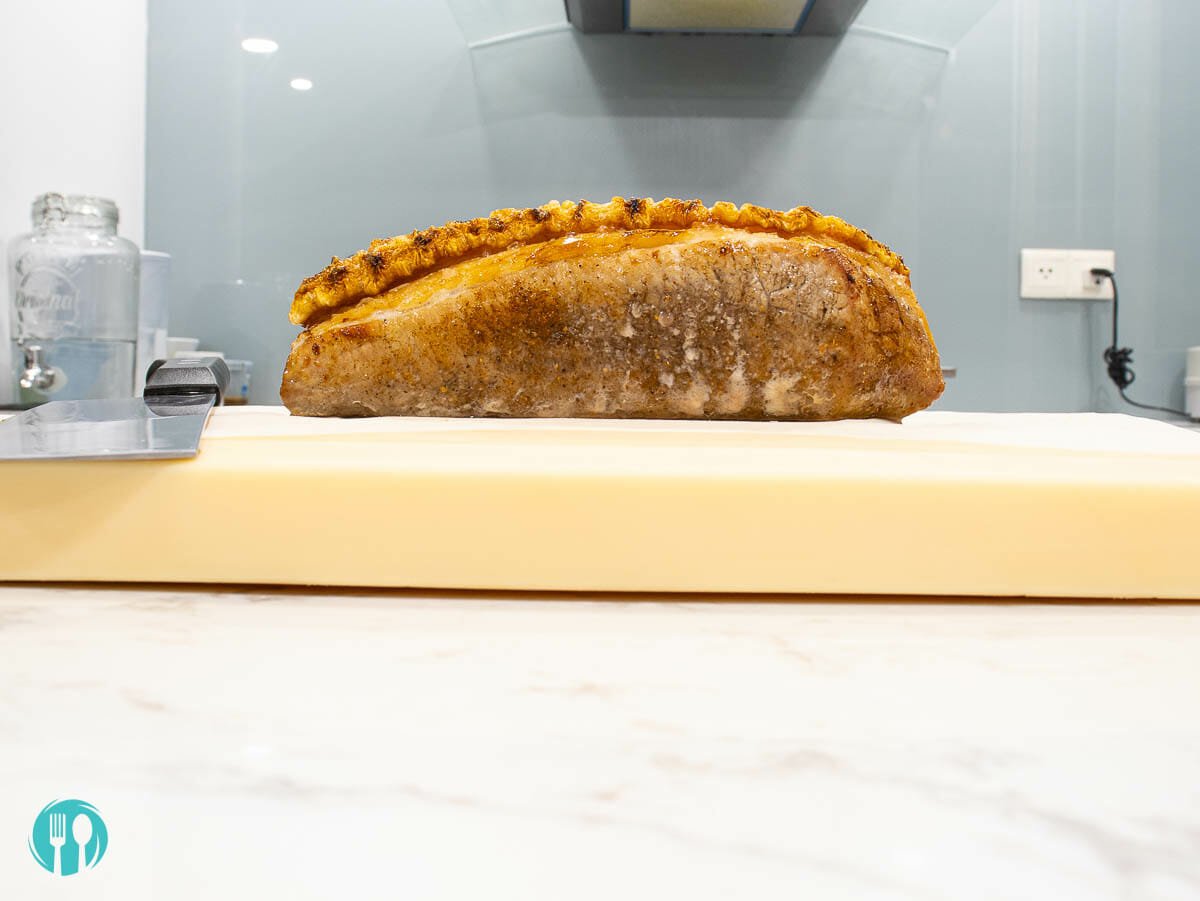
Resting process: When the pork belly is done cooking, take it out and let it rest at room temperature for 5-10 minutes before proceeding to the slicing process.
Essential ingredients and equipment
Ingredients:
- Salt - coarse Himalayan pink rock salt.
- Five spice powder - this five spice powder is widely used in Chinese cuisine. This can be optional. If you don't like the taste and smell of five spice powder, you can opt out for simple salt & ground black pepper instead.
- White vinegar - vinegar helps to dry out the skin quickly. I always use Heinz vinegar for all the recipes that call for white vinegar.
- Chinese rice wine - use this rice wine to wash the pork belly to eliminate the smell and impurities. If rice wine is unavailable, regular vodka can be used as a substitute.
Equipment:
- Fork - you can use a regular fork to prick the skin of the pork belly. If meat tenderizer or BBQ pork is available, it will be easier if you use it.
- Aluminum foil - to form a wall around pork belly during the first roast to contain the salt.
- Or a fitted rectangle type baking pan
FAQs
Vinegar helps dry out the skin quickly, contributing to the effect of puffy, crackling skin-on pork belly.
Salt helps to draw out moisture, which also contributes to puffy skin. Furthermore, the salt layer prevents the skin from overcooking before becoming golden and crackling. It also helps the meat to cook evenly.
Absolutely. Using aluminum foil to form a temporary baking pan in the recipe only helps to ease the cleaning process. You can use any baking pan you like and still accomplish the same perfect skin on a roast pork belly.
You might also want to shorten the roasting time from 35 minutes to 20-25 minutes due to the exposure of the meat surface to oven heat.
Absolutely. Any part with skin on and a little bit of fat underneath the skin will work perfectly. I used both pork belly and pork butt in this recipe, and they have the same result.
Just keep in mind that any cut besides pork belly might dry up afterward due to the lack of fat in the meat.
Did you make this recipe? If so please leave a rating and let me know how it went in the comment section. Also, don't forget to tag me #cookmorphosis @cookmorphosis on social media.
Homemade Crispy Pork Belly With Perfectly Crackling Skin
Ingredients
- 1 - 1.5 lb pork belly skin on
- ¼ c rice cooking wine
- 1 tbsp white vinegar
- 1 - 1.5 c water
For marinating
- 1 tsp Kosher salt
- ¼ tsp five spice powder
For roasting
- 3 tbsp rock salt
- 1 tbsp white vinegar
Instructions
Prick pork belly skin
- Rub and clean pork belly with rice cooking wine, then pat dry with a paper towel.1 - 1.5 lb pork belly, ¼ c rice cooking wine
- Use a meat tenderizer, regular fork, or a steak knife to prick the skin. Remember to spend as much time as possible in this step.
- The more holes the skin has, the crispier & puffier it will become after roasting because these holes will aid in releasing moisture during the cooking process, which helps to make puffy skin.
- Also, pay attention to the edge of the skin and carefully prick that area. Don't skip any part of the skin. And avoid piercing too deep into a fatty part underneath the skin. Only prick the skin's surface.
- This step can take somewhere from 15 to 20 minutes to finish.
Secret step
- In a large cooking pan, pour 1 to 1.5 cups of water and bring to boil (just enough to cover the skin area of the pork belly).1 - 1.5 c water
- Then quickly blanch the skin for 2-3 minutes; it depends on how thick it is (put belly in the pan with skin side down).
- Take the pork belly out of hot boiling water and place it on a clean, flat surface. Skin side up. Check and prick more holes if needed. The skin is softer now, so it's very easy to break the skin if it is pricked too hard. So be gentle.
- Remember, the more holes are evenly added on the surface, the easiest the skin will become crispy.
Marinating & resting process
- Apply a thin layer of white vinegar on the skin’s surface using a pastry brush.1 tbsp white vinegar
- In a small mixing bowl, mix salt and five spice powder together.
- Lightly dab salt mixture on all the sides, except the skin side, of the pork belly.1 tsp Kosher salt, ¼ tsp five spice powder
- Let the pork belly marinade and dry in the fridge, uncover, skin side up for at least 12 hours or up to 24 hours.
Roasting process
- Pre heat oven to 350F.
- Use aluminum foil to make a small rectangle pan so the pork belly can fit. Or you can use any rectangle baking pan. The purpose is that the aluminum pan can catch any juice or rock salt felt out during the roasting process. Furthermore, you can easily discard it afterward, with no extra cleaning.
- Spread a thin layer of white vinegar on the skin using a pastry brush.1 tbsp white vinegar
- Add a layer of rock salt on top of the pork belly.3 tbsp rock salt
- If the pork belly stays uneven, you can use extra pieces of aluminum foil and put them underneath the meat to level the surface.
- Put the pork belly on the middle rack in the oven and roast for 30-35 minutes. Remember to rotate it halfway through the process.
- After that, take the pork belly out of the oven, scrape away, and discard the rock salt with the aluminum foil.
- Please note that the skin is not supposed to be crackling or puffy at this time.
Make crackling skin
- Turn the oven's heat to 370F and switch from roasting to grilling/broiling.
- Transfer pork belly to a clean baking pan lined with parchment paper.
- Put the pork belly on the highest rack in the oven and cook until the skin is entirely puffy. Approximately 8-10 minutes.
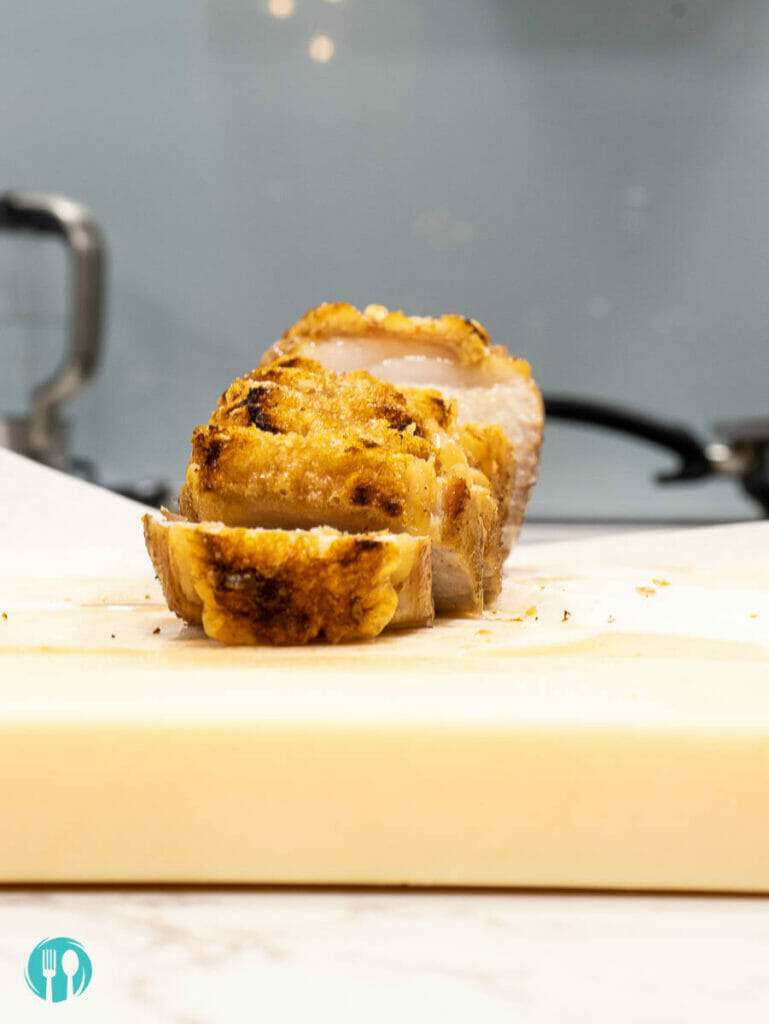
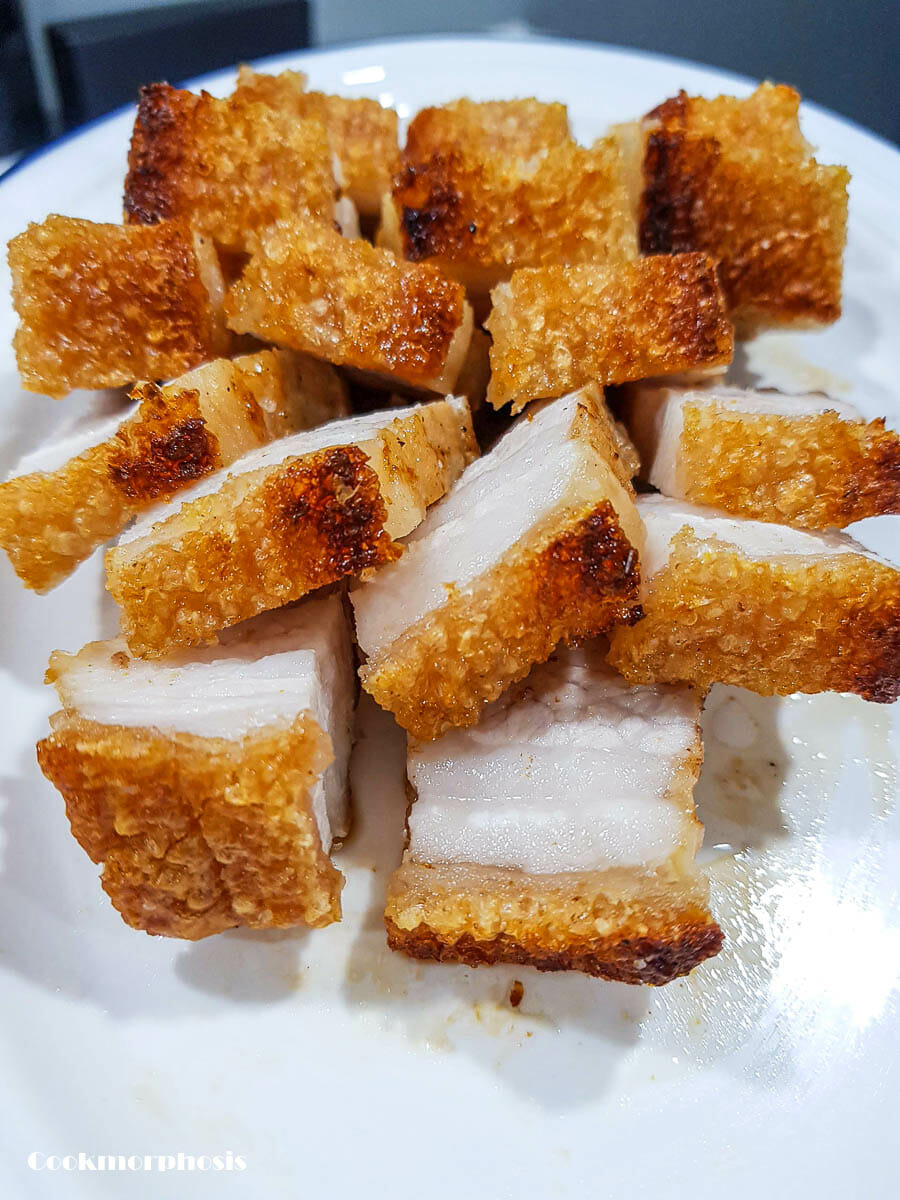
- When the pork belly is done cooking, take it out and let it rest at room temperature for 5-10 minutes before proceeding to the slicing process.
- Use a sharp knife (I prefer a Chinese clever) and slice the pork belly into bite-size slices. Serve hot immediately.
Notes
Nutrition
Will it work in air fryer, if it does, what temp?
Do you think this would work with the Skin and some meat still attached from a pork shoulder?
It'll work perfectly with pork shoulder thus there is less fat underneath the skin. In fact it is easier to achieve this crackling skin than the pork belly part because it requires less time to dry out the skin. Also, you might want to skip the boiling part if using shoulder. The negative side of pork shoulder cut is it may come out drier than this version. I use belly because I love my meat moist due to its extra fat :).
Can u use this to grill on skewers?
Hi Poraaak,
It would not work on the skewers though.
Yes!!! Success at last. Now, will it also work for duck breast?
Hi Malcolm,
So happy that you succeeded!!!! However, this method won't work for duck because duck skin is thinier. If you want to try crispy duck, I have a roasted duck recipe on the blog. Though this version is not a crispy version, but you can still achieve it with the almost same method.
If you decide to go for it, just omit the the sauce stuffed inside the duck cavity, only green onion and ginger is needed. Then when it comes to roasting process, you only need to brush one time at the beginning with white vinegar (not multiple times like it calls for the version of juicy roasted duck).
Also, remember to start the oven at high temperature, then lower mid way finally raise the temp toward the last 5 mins of the process again for that crispy skin effect.
Hope this helps. I'll have a crispy duck recipe on the blog soon :).
Finally the recipe is out!!
Try it out and let me know how it turns out babe!
Me pork belly was bad. Really bad. Idk why. Maybe this recipe should offer more specifics. My meat went in the trash.
Hi Linda,
Oh, sorry to hear that, but trust me, this crackling pork belly sometimes is very hard to acquire in first cooking attempt. Perhaps if you can provide more details of your cooking process, I'll try to troubleshoot what was wrong with your pork belly?