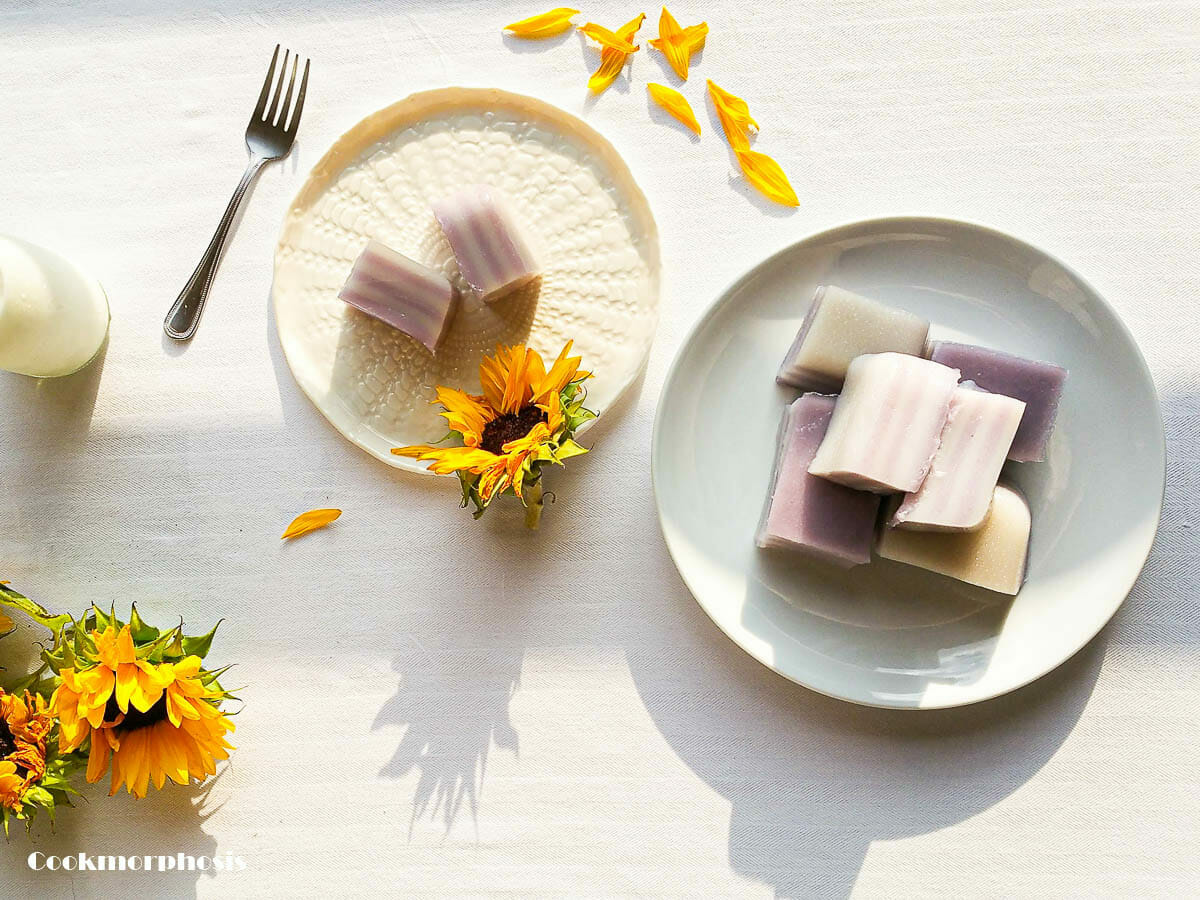
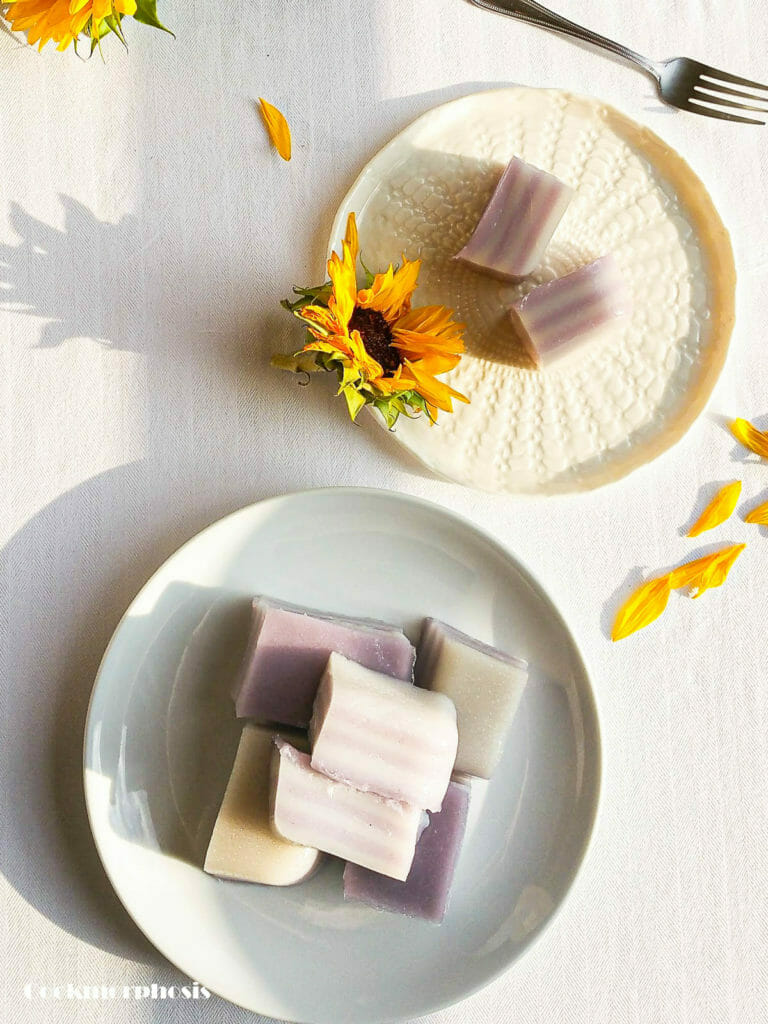
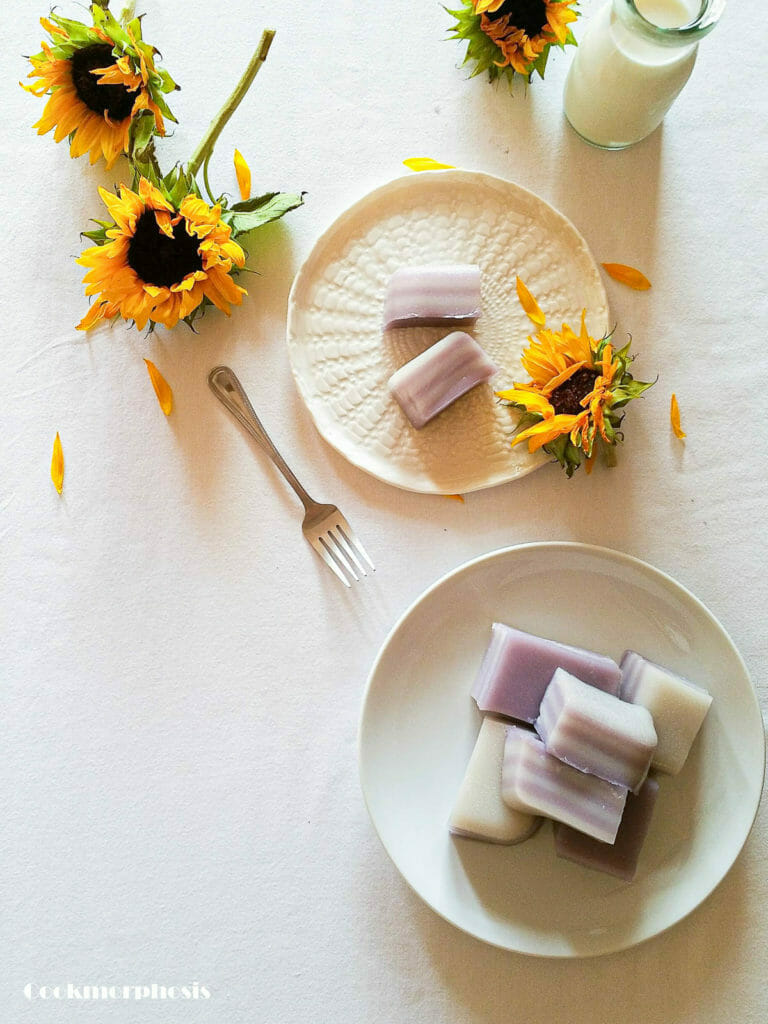
If you've never tried any Asian version of steamed layer cake, then this steamed coconut taro cake (Bánh Da Lợn) should be on your list. The cake is sweet, moist and packed with multiple soft layers. Think KitKat, but thousand times better.
Also, the steamed cake is 100% vegan and you can either eat it as a dessert or as a snack. Normally, we Vietnamese, don't eat Bánh Da Lợn after a meal. Instead we munch on it like daily snack or sometimes as main entrée (at least for me, yeah I'm that weirdo).
** Disclaimer: this post was originally published on Jul 19, 2015. It is now edited to add more useful info for my lovely readers. However, the recipe remains the same. This day was also a day I had my big boy Rain fixed. Though this fact has nothing to do with the recipe, I insist to write it here so I can have a little smile when I look back at the post later. **
Origin of steamed coconut taro cake (Nguồn gốc của bánh da lợn)
This sweet desserts origins from Hoi An, Da Nang, Vietnam. The most popular version of this steamed layer cake is made from mung bean, mung bean paste, tapioca starch, pandan leaves and coconut milk.
In this recipe, I switch out the mung bean options and used taro flavor instead. That makes it simpler and faster to make.
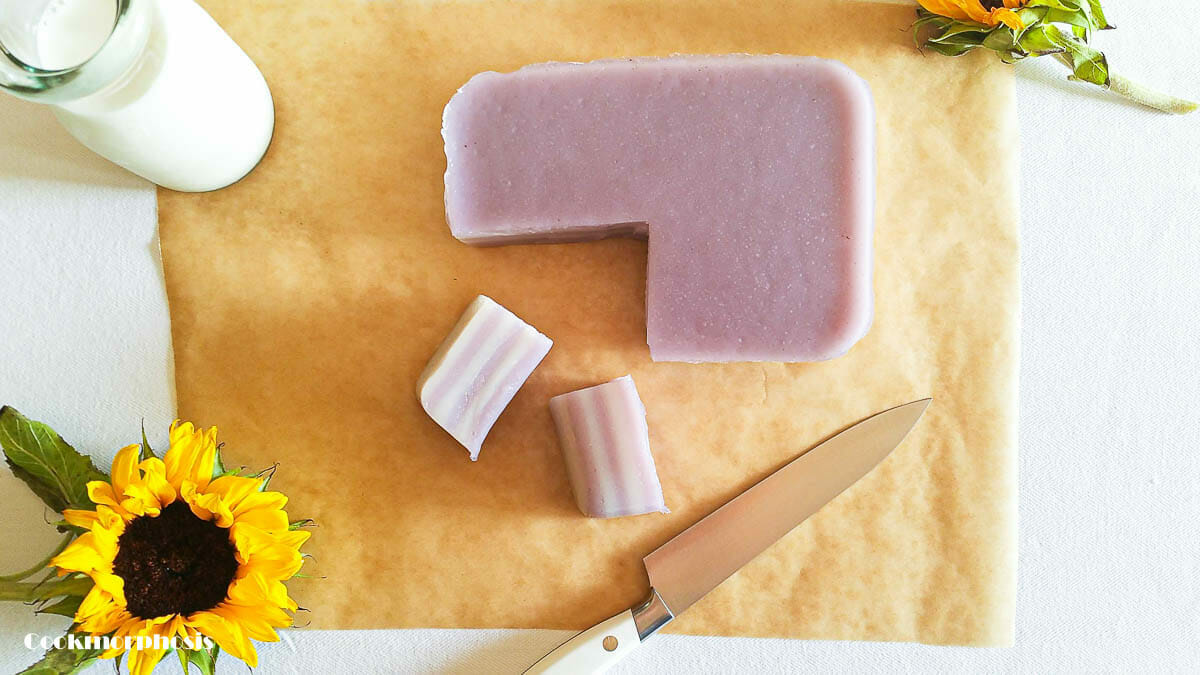
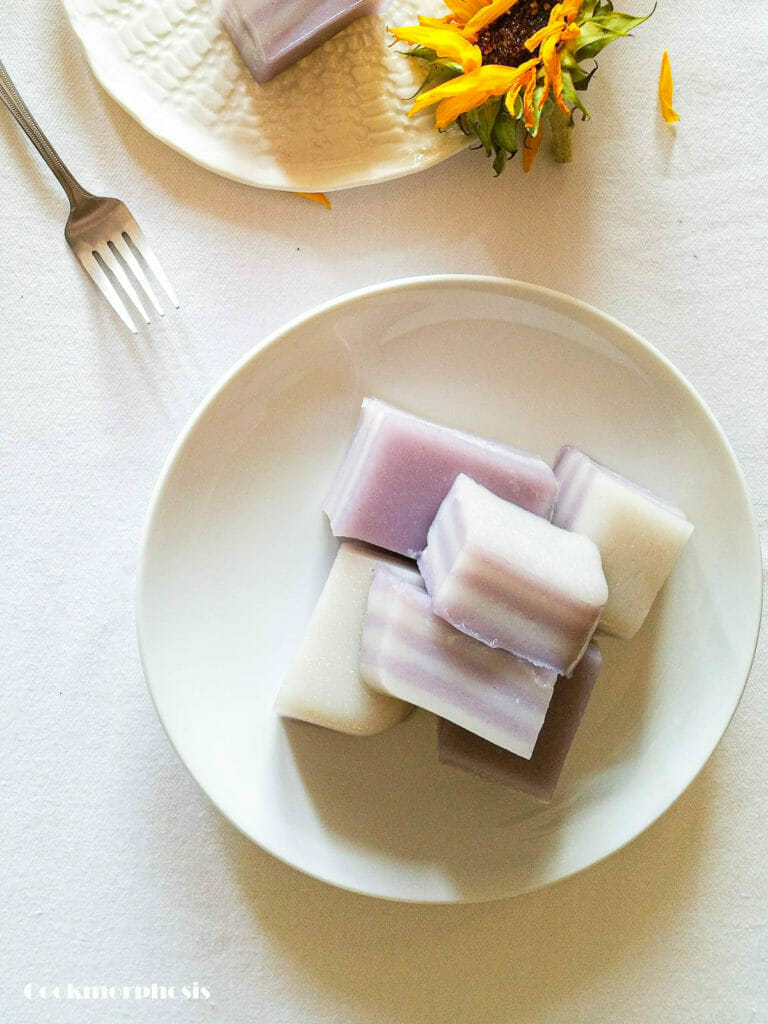
The uniqueness of this steamed cake is it has multiple layers stack on one another. So you can either bite all at once or munch on each layer (just like I do).
Essential ingredients
- Tapioca starch - or tapioca flour is the main ingredient of this steamed coconut taro cake. You can use any brand you like. However, I adore Bob's red mill brand and just love love (yes, that's 2 loves) their tapioca starch.
- Coconut milk - another star of the recipe. If you can get a hand on fresh squeezed coconut milk, then you're so lucky. But chances are most of us in the States have to use canned coconut milk. But believe me, there's brand just as good as the fresh squeezed one.
- Sugar - for this steamed layer cake recipe, I advise to use the superfine caster sugar in order for the mixture incorporates easier.
- Taro - you can easily find this one in any grocery store especially the Asian ones.
- Food color - this is totally optional. I understand some of us try to steer clear of commercial food color due to the appearance of chemical. I did use 1 drop of purple color to enhance the taro layer in this steamed cake.
Related authentic Vietnamese recipes
There are other vegan Vietnamese dessert-like recipes on my blog that I bet you're gonna love them just like this one.
- Soybean pudding with ginger syrup (dohua - tàu hủ đường) - a complete and ultimate guide to make this amazing pudding at home.
- Homemade banana coconut ice cream on a stick.
- A famous street food assorted beans in coconut milk (chè ba màu).
Did you make this recipe? If so please leave a rating and let me know how it went in the comment section. Also, don't forget to tag me #cookmorphosis @cookmorphosis on social media.

Steamed Coconut Taro Cake (Bánh Da Lợn)
Equipment
- Steamer
- Baking pan (5x8 inch)
Ingredients
Coconut Layer
- 5 oz tapioca starch
- 8 oz coconut milk
- 2 oz water
- 3 oz sugar
Taro layer
- 5 oz tapioca starch
- 4 oz coconut milk
- 4 oz water
- 8 oz taro cut into small cubes
- 3 oz sugar
- 1 drop purple food color optional
Instructions
Coconut layer
- In a medium mixing bowl, mix all ingredients well. Set aside.
Taro layer
- Boil taro cubes until they are soft enough to smash into paste.
- Put taro and water in a blender, blend well. In a mixing bowl, incorporate taro mixture with the rest of ingredients. Mix well.
- Add 1 drop of purple food color (optional). Set aside.
Steaming process
- Prepare a steamer. Spray 1 thin layer of oil on your choice of baking mold.
- When the steamer is ready. Ladle about ¼ c of coconut mixture into the mold, put in a steamer and steam for 5 minutes.
- After that, ladle ¼ c of taro mixture on top of now cooked coconut layer and steam for another 5 minutes. You can do this step directly on the mold when it's still in the steamer or take the mold out and return it back to steamer when finish adding extra layer.
- Repeat these steps until the rest of both mixtures are used up, then steam a whole cake for extra 20 minutes.
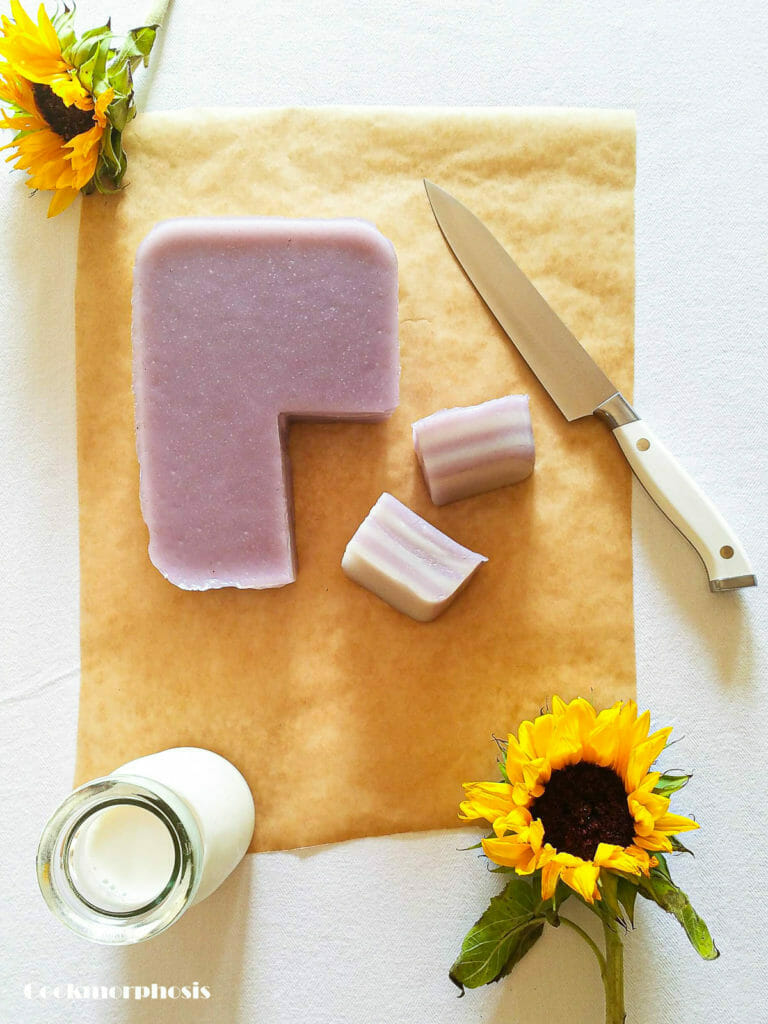
- Let the cake cool completely (2 hours) before un-mold and cut into pieces. Serve best at room temperature. Enjoy!
Notes
- If you add extra layer with the mold remains in the steamer, be aware of the steam heat, it might burn your hands.
- You can serve the cake warm, if desired. Traditionally, this cake is eaten at room temperature.
- The cake can be kept at room tempt, tightly wrap for 2 days. Or up to 5 days under refrigeration.
- If you decide to freeze it, you can heat it up quickly in microwave for 5 to 10 seconds before serving.

Hi, are these measurements by weight or by volume? Asking because for an ingredient like water, it’ll be the same, but for tapioca starch, 5oz by weight will be a much larger quantity than 5oz by volume. Thanks!
This is an amazing recipe! I used less sugar, and also changed it to coconut sugar and it was still delicious. It's a hit with the family.
Hi Jane,
I am so glad that you and your family love the cake. It means a lot to me that you give the recipe a try :).
Would this work if steaming it in a graham cracker pie crust like used for cheese cake? Something like this - https://www.keebler.com/en/sweet-treats/?readycrustgrahamcracker
Hi Gregogry,
I haven't tried this with the graham cracker yet but I don't think they'll go well together. Because this cake texture is much alike with jelly than cheesecake. Moreover this requires to be steamed directly on stove top which tends to be a bit intense for the graham base rather than bake it in water bath in the oven. Hope this helps.
I gave it a shot anyway 🙂 First attempt was a little off. Second attempt was better. On the second attempt, I dropped down the tapioca a little, and dropped down the sugar a little. It was also my first time using the Instant Pot as a steamer, so I wasn't sure how to adjust that. But I steamed each thinner layer for 2-3 minutes, and then 7 on the final. The crust was very week, as you mentioned it probably would be. But a day in the fridge, and the graham cracker crust was then back to being a good stronger crust. The taro I got had almost no purple color to it, so I did add some food coloring to get a nice purple coloring. Are there different types of taro that have more/less purpleness to them? Would a purple yam that is more purple also work, or is that completely different?
It was a small group, but people seemed to like it okay as kind of a taro/tapioca/coconut/cheese-less cheese cake 🙂
I tried to also make some vegan coconut whipped cream to put on it, but I couldn't get it to a whipped cream kind of state. More of a poured cream kind of state. Might have still been good, but left that bit at home on this one.
Oh wow, that sounds so good, such a creative idea, I will give it a try soon next week. As far as I know and have been cooking a lot using taro, there is no such taro can really bring out the bright purple color.
Purple yam will also work perfectly as well and yield such ideal purple color without the use of food color. But you might wanna reduce the sugar amount even more due to the high level sweetness of purple yam compared to taro. And the texture can be a little bit more grainy/sandy too, in a good way I believe.
As for the whipped cream, I haven't worked with vegan coconut type. But in order to stabilize and get a stiffed texture for regular whipped cream, you can try to add powdered 1tbsp sugar or cornstarch to 1cup of cream. And always start with cold/chill cream. It'll work perfectly if you also have your mixing bowl and whipping attachment chill in the fridge 15 to 20 minutes before whipping time too. Hope this helps.
Hi, thank you for sharing us the recipe , I love it .so amazing taste
Hi Virgie,
I'm so glad that you love the recipe :). Thank you for trying it out.